
Let's be real: learning how to curl your hair with a straightener is one of those skills that feels like a secret handshake. Once you get it, you'll wonder how you ever lived without it. It all comes down to a simple clamp, twist, and glide motion that turns your humble flat iron into an absolute styling powerhouse.
Nailing this one technique means you can whip up everything from big, bouncy curls to those effortless-looking beach waves, all with the tool you already own.
Your Flat Iron's Secret Superpower
I know, it sounds a bit like a magic trick, but your trusty straightener is genuinely one of the best gadgets for creating amazing texture. Say goodbye to a bathroom counter cluttered with a million different wands and barrels. We’re about to show you how this will completely reinvent your styling routine.
This guide goes way beyond the usual 30-second tutorials you’ve probably scrolled past. I'm talking about the insider secrets stylists use to get those flawless, long-lasting curls with a flat iron. And the first step to getting those incredible results (without totally frying your hair) is choosing the right tool for the job.
Why Your Choice of Straightener Actually Matters
Look, using a decent straightener isn't just a friendly suggestion—it's the absolute foundation for getting a great curl. The good ones are designed with plates that protect your hair while delivering consistent, even heat. That's the key to creating a smooth, defined curl that actually holds its shape all day.
This focus on better tools is part of a bigger picture. Here in Australia, the hair straightener market was valued at around USD 17.73 million and is on the rise. Why? Because we're all getting savvier about creating amazing styles while keeping our hair healthy. You can dig into more about Australian hair styling trends from the IMARC Group.
The right flat iron does so much more than just straighten. It should glide through your hair without snagging, spread heat evenly to prevent damaging hot spots, and give you the control you need to shape the perfect curl. Investing in a quality tool is the first real step to unlocking its full potential.
Once you’ve got this down, you’ll be able to:
- Simplify Your Life: Use one tool for a whole wardrobe of stunning looks.
- Create Any Style: Effortlessly switch between dead-straight hair and voluminous curls.
- Protect Your Hair: Learn how to style like a pro without causing a tonne of heat damage.
Get ready to see your flat iron in a whole new light.
So, Which Straightener Should You Actually Use for Curls?
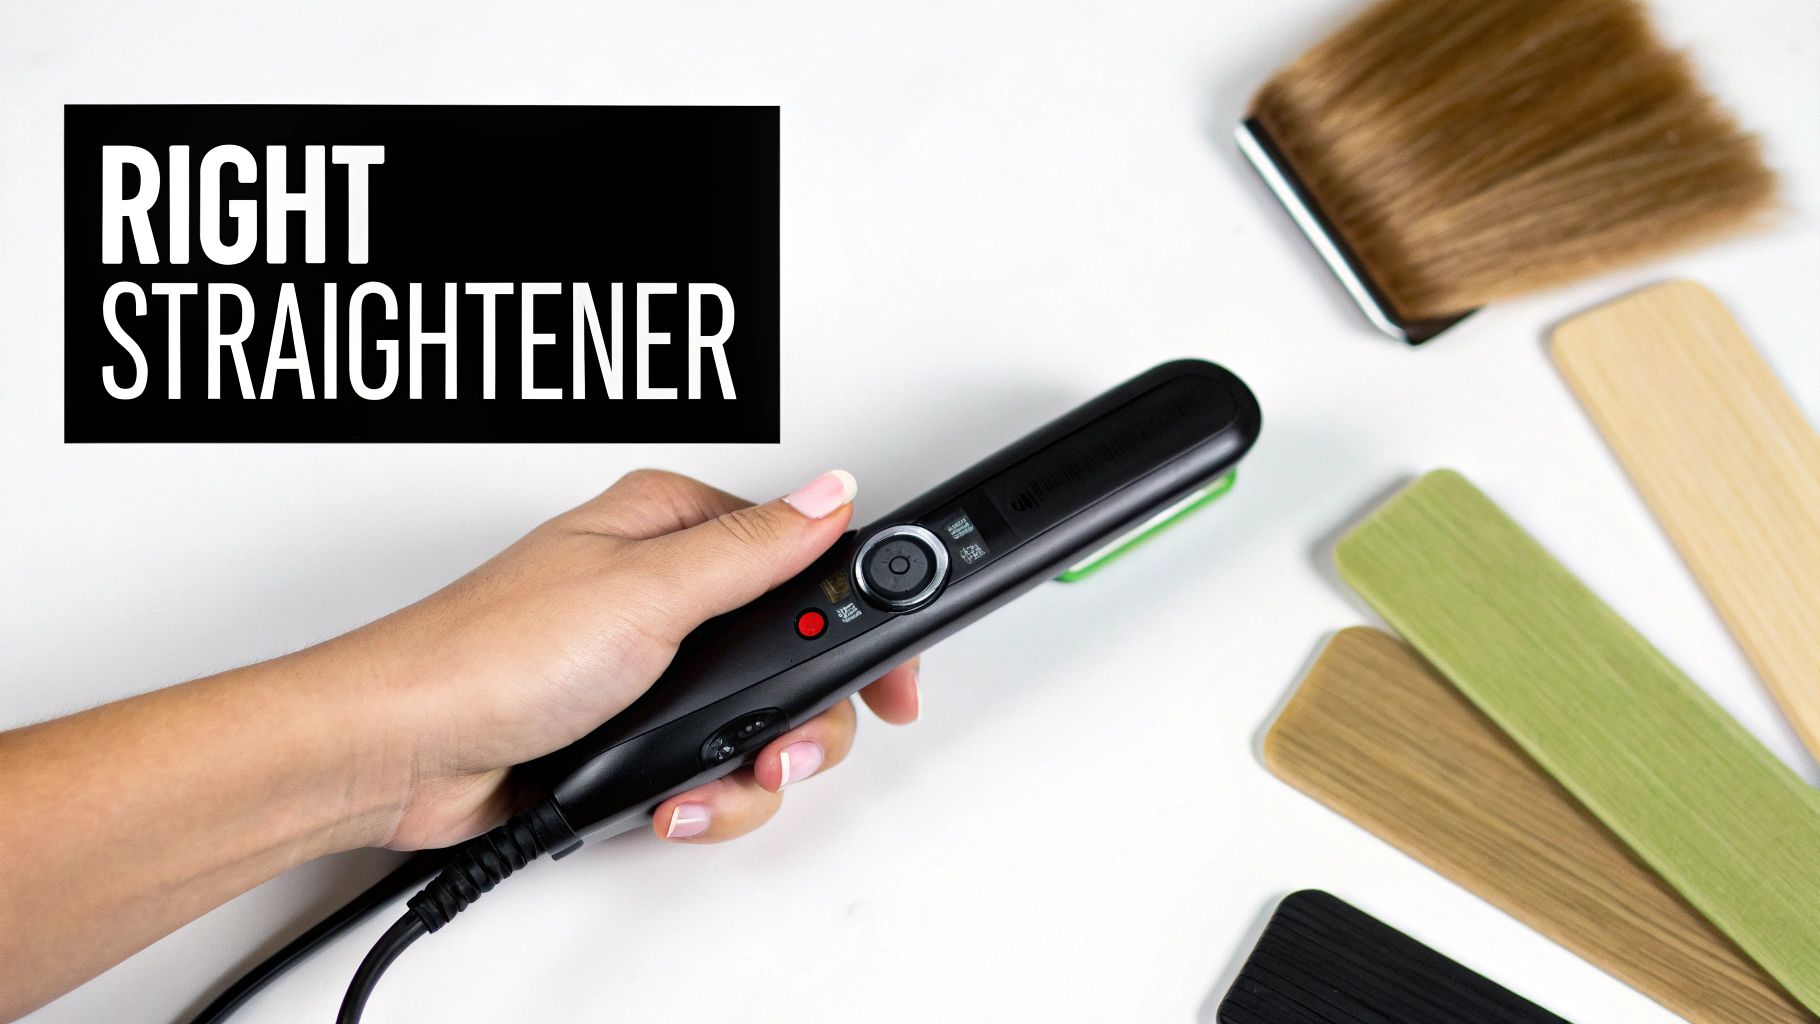
Let's get one thing straight (pun absolutely intended): not all flat irons are cut out for creating curls. The real secret to getting those silky, kink-free waves isn't just about how you twist your wrist; it all begins with the tool itself. Using the wrong one is a recipe for disaster—we’re talking snags, awkward clamp marks, and curls that fall flat before you’ve even left the house.
Think about it. You wouldn't use a blocky, square-edged brush to create soft waves, would you? The same logic applies here. For curling, you need a straightener designed for a smooth, fluid glide, not just for pressing hair flat.
Rounded Edges Are Your Best Friend
If you take away only one thing from this section, let it be this: rounded barrel edges are non-negotiable. Seriously, this is the game-changer. These beautifully curved edges are what allow your hair to wrap seamlessly around the tool as you twist, giving you a perfect curl without any weird lines or indentations.
A straightener with sharp, 90-degree edges will almost always leave that dreaded "clamp mark" at the top of the curl. It's designed to flatten, so it grabs and pulls, making that smooth gliding motion nearly impossible. With rounded edges, your hair flows effortlessly, creating a much more natural, polished-looking curl or wave.
Let’s Talk Plates: Material and Width
Beyond the shape, the stuff your straightener's plates are made of plays a massive role in how your curls turn out and, more importantly, the health of your hair.
-
Ceramic Plates: These are the trusty all-rounders. They're brilliant for distributing heat evenly, which means you avoid those nasty "hot spots" that can fry your hair. Ceramic is a fantastic choice for fine to normal hair, as its gentle heat helps seal the hair cuticle for a super smooth, frizz-free finish.
-
Titanium Plates: If you’re battling with thick, coarse, or stubbornly straight hair, titanium is your champion. It heats up in a flash and holds a consistently high temperature, letting you form a perfect curl in a single, efficient pass. Less time, less damage, more curls. What's not to love?
Now, for size. The width of the plates genuinely makes a difference. For most hair types and lengths, a 1-inch plate is the gold standard. It's the perfect size to give you enough control to create different types of curls, from tight ringlets to loose waves, without being clumsy.
Got super long or thick hair? A slightly wider plate (up to 1.5 inches) can be a real time-saver. On the flip side, if you're rocking a shorter style like a bob or a lob, a slimmer plate will give you the precision you need to get close to the roots.
If you want to see some top-tier examples, our collection of H2D Hair Straighteners features fantastic options to help you find your perfect match.
To make it even easier, here's a quick rundown of the must-have features in a curling-friendly straightener.
Must-Have Straightener Features for Curling
| Feature | Why It Matters for Curling | Our Recommendation For |
|---|---|---|
| Rounded Barrel | Allows hair to glide smoothly without snagging or leaving clamp marks. | Everyone! This is the most crucial feature for creating curls. |
| Floating Plates | They adjust to the pressure and angle, ensuring even contact with the hair. | Creating consistent, uniform curls from root to tip. |
| Adjustable Heat | Lets you tailor the temperature to your hair type, preventing heat damage. | All hair types, especially fine, damaged, or colour-treated hair. |
| 1-Inch Plate Width | The most versatile size for creating a variety of curl styles on most hair lengths. | Most people, but especially those with shoulder-length or shorter hair. |
| Ceramic Plates | Provides gentle, even heat that’s perfect for sealing the cuticle and reducing frizz. | Fine, thin, or colour-treated hair that is prone to damage. |
| Titanium Plates | Heats up fast and holds a high temperature, ideal for quickly styling stubborn hair. | Thick, coarse, or hard-to-curl hair types. |
Choosing a tool with these features in mind will set you up for success from the very beginning.
A quick but important note: Adjustable heat settings are an absolute must. There’s no such thing as a "one-size-fits-all" temperature for hair. To avoid frying your locks, you need to be able to control the heat—lower for fine or colour-treated hair, and a bit higher only when needed for coarse textures.
Prepping Your Hair for Perfect Curls
Ever wonder what the real secret is behind curls that last all night versus the ones that ghost you within an hour? It’s all in the prep work. Honestly, before you even think about plugging in that straightener, we need to lay the groundwork for a style that's going to stick around.
These aren't just finicky extra steps; they are the non-negotiable rituals that professional stylists live and die by. Think of it like priming a canvas before you paint a masterpiece. If you skip this part, your style just won’t hold, no matter how slick your technique is.
Start with Completely Dry Hair
First things first, and I can't stress this enough: your hair needs to be 100% bone-dry. Hitting even slightly damp hair with a hot tool is a one-way ticket to Damageville.
When that hot ceramic plate meets wet hair, it literally boils the water trapped inside the hair shaft. This causes the cuticle to swell and burst. If you hear a sizzle, that's your hair screaming for help!
Not only is it a disaster for your hair's health, but it also completely sabotages your style. Curls formed on damp hair will never hold their shape because the moisture stops the hair's bonds from setting properly. So, take the time to blow-dry thoroughly, or let it air-dry completely. Patience is a virtue here!
This awesome little infographic breaks down the essentials into three simple visual stages.
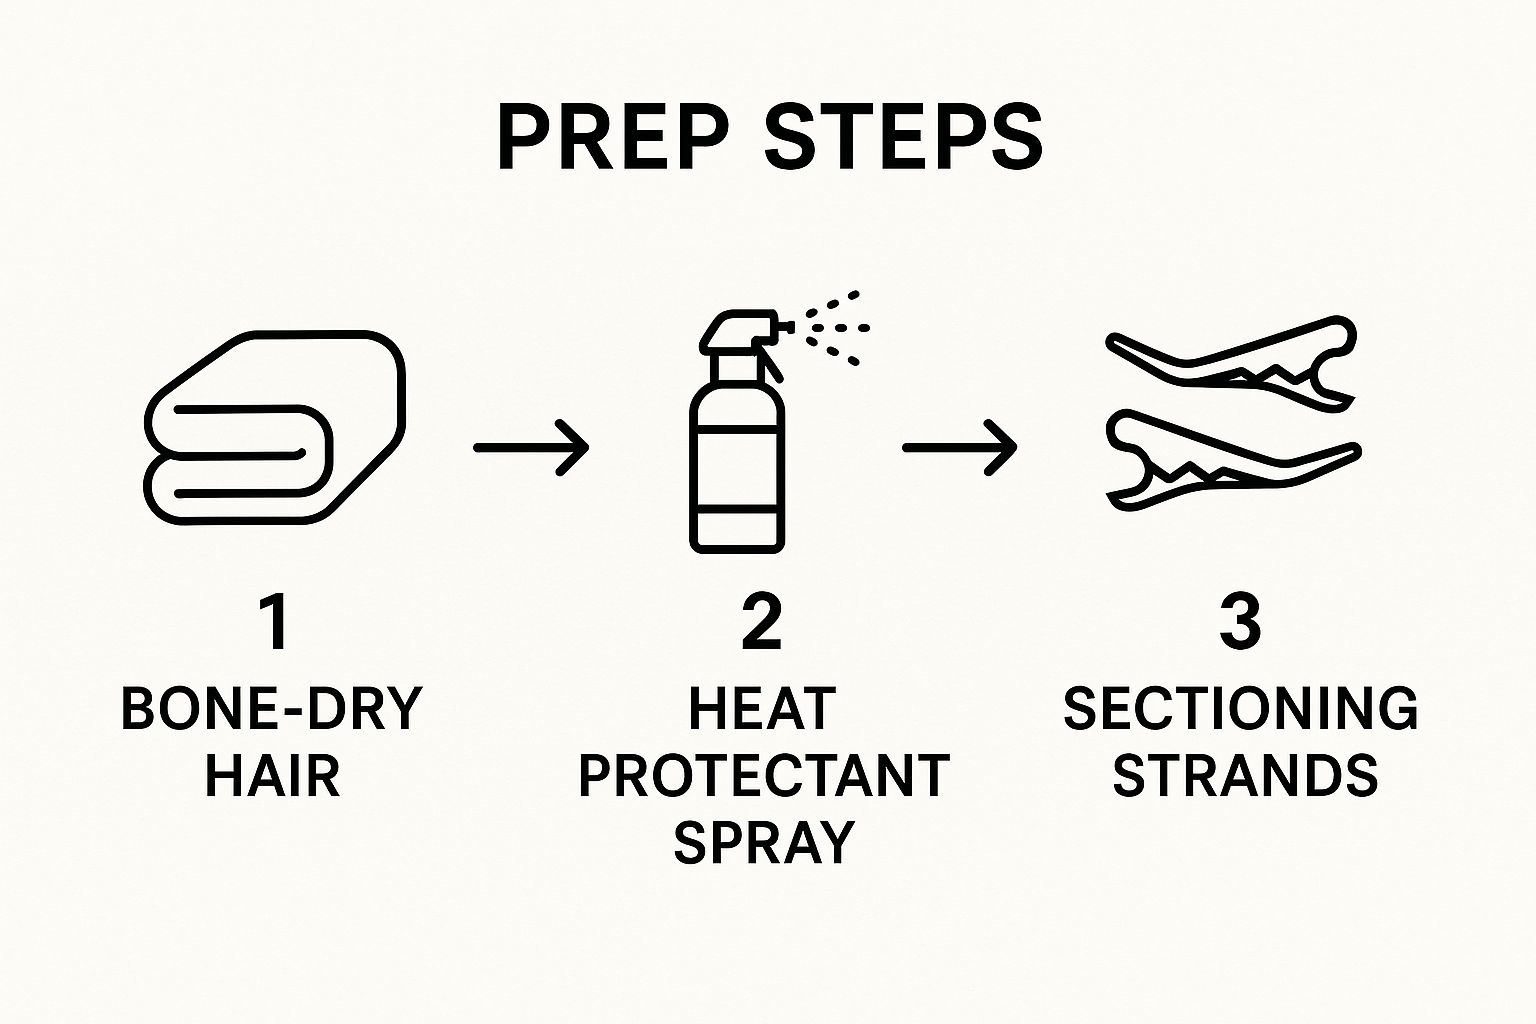
As you can see, it's a pretty straightforward flow designed to build a protective and effective base before the fun begins.
The Magic of Heat Protectant
Alright, once your hair is perfectly dry, it's time to call in your style's guardian angel: a good heat protectant spray. This isn't just a friendly suggestion; it's a must-do for keeping your locks looking and feeling healthy.
Heat protectants work by creating a protective shield over the hair's surface. This minimises moisture loss and guards it against the intense heat you're about to apply.
Application is everything, though. Don't just give the top layer a quick spritz and hope for the best! For total coverage, lightly mist the spray from roots to ends on each section of hair right before you curl it. This targeted approach gives you maximum defence exactly where you need it. If you’re on the hunt for a great product, our selection of professional heat protectants is packed with options for getting that healthy, glossy finish.
Heat protectant does way more than just shield your hair. Many formulas are loaded with ingredients that smooth the cuticle, fight frizz, and add a little bit of grip. That extra grip actually helps your curls last even longer. It’s a total win-win!
Sectioning for Success
Now for what I think is the most underrated technique of all: sectioning. It might seem like a bit of a faff, but it’s a total game-changer for getting those consistent, professional-looking curls. Just grabbing random chunks of hair is a recipe for a hot mess—you'll end up with some bits tightly coiled and others stubbornly straight.
To get it right, you need to divide and conquer. Here’s a super simple way to do it:
- Create a Baseline: Start by separating your hair into a top and bottom half. A claw clip is your best friend here—just clip that top section right out of the way.
- Divide and Conquer: Now, focus on the bottom half. Split this layer into smaller sections, about 1 to 2 inches wide. This is the sweet spot for making sure the heat gets distributed evenly through every single piece of hair.
- Work Your Way Up: Once you’ve curled the entire bottom layer, let down the top section and do the exact same thing.
This methodical approach ensures every strand gets the VIP treatment it deserves, giving you a beautifully uniform and polished look. I know it feels like it takes a bit more time, but trust me, the flawless results are so worth it.
Mastering the Essential Curling Technique
https://www.youtube.com/embed/cNK7B-3QryE
Alright, let's get to the fun part—the bit where the actual magic happens. The core of learning how to curl your hair with a straightener boils down to one simple, fluid movement: the clamp, twist, and glide. It sounds easy, and honestly, once you get the hang of it, it is. But mastering that rhythm is what separates okay-ish curls from OMG-your-hair-looks-amazing curls.
Forget those confusing tutorials that move at a million miles an hour. Just think of it like this: you’re creating a ribbon curl, but the straightener is your scissors. The secret is finding that sweet spot of gentle tension and a steady, consistent speed. If you go too fast, you'll get a barely-there wave. Too slow, and you risk sizzling your hair. We don't want that.
The Clamp, Twist, and Glide Demystified
Let's break this legendary move down. Grab your first section of hair. Now, position your straightener a few centimetres down from the roots—this is key to avoiding that awkward, dead-straight section at the top of your head.
Clamp the plates down gently. You don’t need a death grip! From here, this is the crucial part: rotate the straightener a full 180 degrees (a half-turn) away from your face, so the hair wraps once around the outside. The tail of your hair should now be pointing downwards.
Once you’ve made that half-twist, you simply start gliding the straightener smoothly down the length of the hair, all the way to the ends. Maintain that same light pressure and steady pace the entire time. When you let go, a beautiful, bouncy curl should spring to life. It’s genuinely that simple!
This one motion is the foundation for everything. As Aussie styling experts often explain, the technique involves gently clamping a section of hair, twisting it anywhere from 180 to 360 degrees, and then slowly pulling the plates down the strand. The key, they insist, is a single, slow pass with minimal pressure. This not only creates curls that last longer but also drastically decreases the risk of hair breakage.
The biggest mistake beginners make is yanking the straightener down too quickly. You need to give the heat just enough time to work its magic and set the shape. Imagine you're slowly and gracefully pulling a ribbon over a scissor blade to make it curl—it’s the exact same vibe.
Your Angle Determines Your Curl
Did you know the angle you hold your straightener can completely change the type of curl you get? This is where you get to play creative director with your own hair. It’s a simple tweak that delivers dramatically different results.
-
For Classic, Bouncy Curls: Hold the straightener horizontally, parallel to the floor. When you do the clamp-twist-glide motion from this position, you’ll end up with a classic, rounded, bouncy ringlet. Think timeless, glamorous curls.
-
For Relaxed, Elongated Waves: Now, try holding the straightener vertically, pointing down towards the floor. This angle creates a much softer, more stretched-out 'S' wave. This is your go-to for that effortless, beachy texture that looks perfectly undone.
Try alternating between these two angles as you work through your hair. This is a pro secret for creating a more natural, less "perfectly styled" look that has tons of dimension and movement. If you're working with larger tools, our H2D wide hair straightener styling guide has some fantastic tips for creating soft waves with bigger plates.
Pro Tips for Flawless Results
After years of practice (and plenty of trial and error!), I've picked up a few little tricks that make all the difference.
-
Leave the Ends Straight. For a more modern, lived-in look, stop gliding about two or three centimetres before you reach the very ends of your hair. This leaves them straight, which keeps the style from looking too polished or "done."
-
Alternate Your Curl Direction. Don't curl every single section in the same direction! For the most natural finish, curl some pieces away from your face and others towards your face. This creates a beautiful, separated texture instead of one uniform, helmet-like wave.
-
Let Curls Cool Down. This is a non-negotiable step for longevity. A fresh curl is still hot and malleable. To lock it in place, you can either cup it in your hand for a few seconds as it cools or use a small clip to pin the curl to your scalp. Once all your hair is curled and completely cool, then you can rake your fingers through it.
Styling Safely and Protecting Your Hair
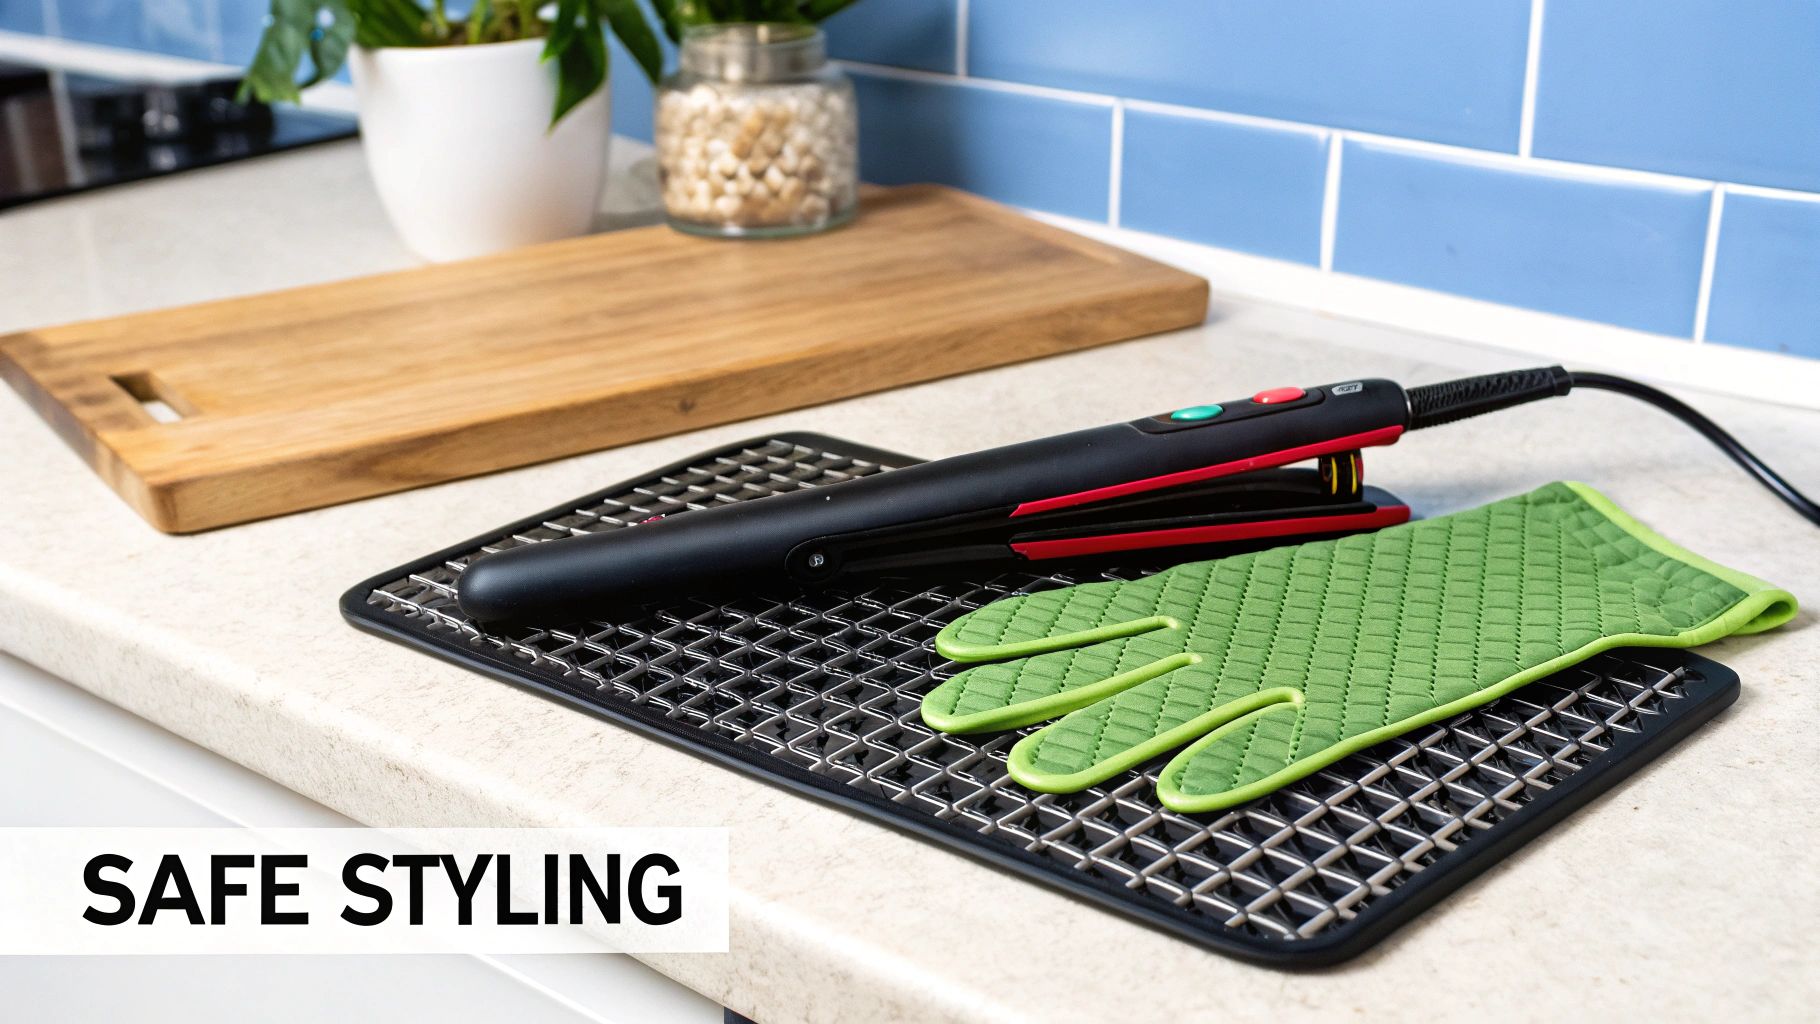
Creating gorgeous hair shouldn't be a risky business, but let’s be real – hot tools demand a bit of respect. So, let's chat about smart styling habits that will protect you, your bathroom counter, and most importantly, your hair from any heat-styling horror stories.
It all starts with a safe setup before you even think about plugging that straightener in. First things first, grab a heat-resistant mat and pop it on your counter. This little lifesaver is a non-negotiable for me. It saves your surfaces from those dreaded scorch marks and gives you a designated ‘safe zone’ to rest your hot tool.
It’s also vital to be mindful of your surroundings, especially if you have little ones or pets running around. Hair straighteners get seriously hot, often soaring to a blistering 230°C (450°F) in just moments. This is no joke. A study from a level I trauma and burn centre right here in Australia found that between 2011 and 2015, 59 children under 11 were treated for burns from hair irons. Most injuries happened when kids touched tools left within reach or yanked on dangling cords. You can read up on these pediatric burn study findings if you need any more convincing about styling safety.
Avoiding Common Hair Damage Mistakes
Okay, now that we've covered the personal safety side of things, let's talk about keeping your hair healthy and happy. The biggest mistakes I see people make often happen before the straightener even touches a single strand.
It's a common myth that you need to crank up the heat to get a good curl. The real culprit behind hair damage isn't the heat itself—it's how you use it. Blasting your hair with the highest setting is rarely necessary and often does way more harm than good. The goal is to find the lowest effective temperature for your hair type.
This means you need to get to know your hair and your tool. I always recommend starting on a lower setting and only nudging it up if you find your curls aren't holding. If you have fine, colour-treated, or already fragile hair, you'll want to stay in the 150-175°C range. For those with thicker, coarser hair, you might need to venture a bit higher, but please, never just start at the maximum.
Smart Habits for Healthy Styling
Once you've found your hair's temperature sweet spot, there are a few golden rules to live by for every single styling session. Stick with these, and your journey to learning how to curl hair with a straightener won't end in a frantic call to your hairdresser about split ends.
- The One-Pass Rule: Resist the urge to go over the same section of hair again and again. All you're doing is cooking one spot, which leads to major damage. Aim for a single, slow, and steady pass to create the perfect curl.
- Bone-Dry Is Best: I know we've said it before, but it's worth shouting from the rooftops – never, ever use a straightener on damp hair. If you hear a sizzle, that's the sound of water boiling inside your hair shaft, which is every bit as destructive as it sounds.
- Cool It Down: As soon as you're done, unplug your straightener. Let it cool down completely on its heat-resistant mat before you even think about putting it away. This simple habit prevents accidental burns and keeps your tool in great shape for years to come.
Your Top Straightener Curling Questions, Answered
Alright, so you've watched the tutorials and given it a go, but things aren't quite coming together. Don't throw in the towel just yet! It happens to everyone. Let's walk through some of the most common snags people hit when learning this technique.
"Help! My Curls Disappear in an Hour!"
This is, without a doubt, the number one frustration I hear. You spend all that time creating beautiful waves, only for them to fall limp before you’ve even left the house. The culprit is almost always the cooling process.
Think of it this way: when you release a curl from the heat, it's still hot and floppy. If you just let it drop, gravity immediately starts doing its thing, pulling that beautiful shape straight down before it has a chance to lock in.
The fix is surprisingly simple. As you release each curl, don't let it fall. Instead, catch it in the palm of your hand and hold the coiled-up shape for a few seconds. For hair that's extra stubborn, you can even use a little pin-curl clip to secure it against your head while it cools completely. This one extra step is the secret to making your style last.
Here's the golden rule: Heat creates the shape, but cool air sets it. Just giving your curls 10-15 seconds to cool down before you touch them will make a world of difference to how long they last.
Also, check your pre-styling routine. Heavy conditioners or serums can weigh your hair down from the start. A spritz of light-hold hairspray from our finishing collection at the very end will give your masterpiece its final seal of approval.
"Can I Even Do This on My Short Hair?"
You absolutely can! In fact, for shorter styles, a straightener is often way better than trying to manoeuvre a clunky curling wand. The trick is all about the size of your tool.
If you’re rocking a bob, a lob, or even a sassy pixie cut, you need a straightener with slimmer plates—I’m talking 1-inch or less. This narrow size gives you the precision you need to get right up near the roots and wrap those shorter pieces without any fumbling. It lets you create those cool, modern bends and 'S' waves instead of tight ringlets, which can sometimes look a bit dated on shorter cuts.
"What’s the Right Temperature? I Don't Want to Fry My Hair."
There's no single magic number here—it’s all about your specific hair type and condition. A classic rookie mistake is whacking the heat up to the max, which is a fast track to damage.
Always start on a lower setting and only bump it up if you find your curls aren't forming or holding. Here’s a good rule of thumb to follow:
- Fine or Colour-Treated Hair: Keep it gentle, somewhere around 150-175°C. That's more than enough heat for delicate hair to hold a style without risking damage.
- Healthy, Medium-Thickness Hair: The sweet spot is usually in the 175-200°C range. This gives you effective, lasting results without going overboard.
- Thick or Coarse Hair: Your hair might need a bit more convincing, so you can go up to 220°C. But please, always start lower and work your way up only if you need to.
And the most important rule of all, no matter what? Never, ever skip the heat protectant spray. Seriously. Don't do it.
Ready to put this into practice? Find the perfect straightener, heat protectant, and finishing sprays for your hair type at On Line Hair Depot. We've got an awesome collection of professional-grade tools and products from all of Australia's favourite brands.


