
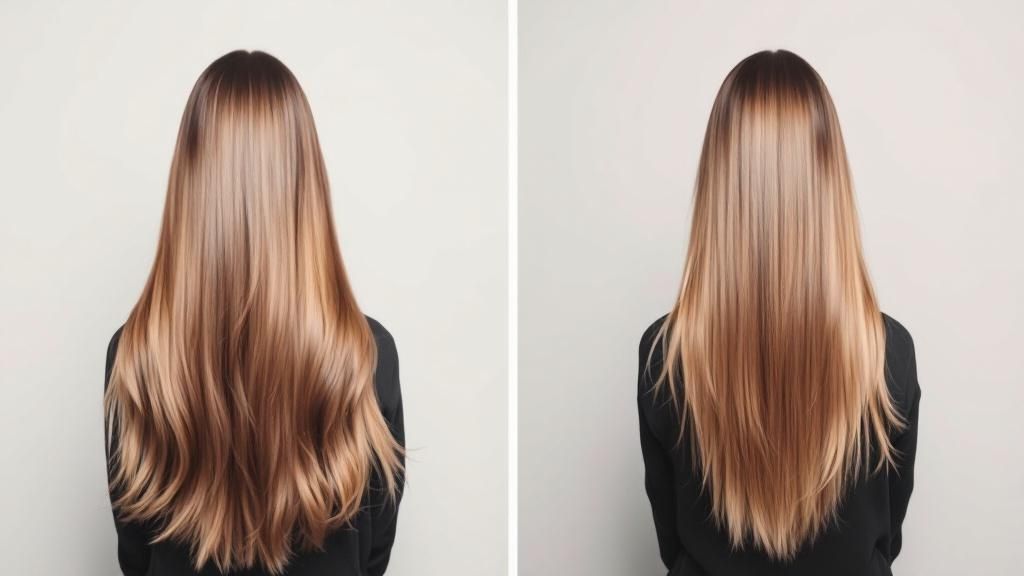
Ever dream of having that silky, frizz-free hair you see in magazines, but wince at the thought of the salon bill? An at-home keratin treatment might just be the perfect solution. It's a genuinely effective way to get those smooth, manageable locks yourself, totally transforming your hair and cutting down your styling time for weeks on end.
Why a Keratin Treatment at Home Is a Game Changer
I know, the idea of getting salon-level results in your own bathroom can sound a bit intimidating. But trust me, it's more achievable than you might think. Choosing to do a keratin treatment at home isn’t just about the massive savings; it's about taking back control over your hair care routine and your time.
Just picture it: waking up without having to fight a frizzy halo, especially on those humid, sticky days. That’s the magic of keratin. The treatment works by filling in the porous, damaged spots in your hair strands with protein, which creates a protective layer. The result? A much smoother, sleeker surface that not only looks incredible but is so much easier to handle. Many people find their blow-drying time is cut in half.
Who Benefits Most From This Treatment?
While just about anyone can get gorgeous results, some hair types experience a truly night-and-day difference. If any of these sound like you, a DIY keratin treatment could become your new holy grail product:
- Frizzy and Unruly Hair: This is the top reason people reach for keratin. It's a lifesaver for taming the frizz and flyaways that pop up in humid weather or from hair damage.
- Wavy or Curly Hair: If you love your natural texture but just want to dial down the frizz and make styling less of a chore, a treatment can gently relax your curl pattern for a more polished look.
- Time-Poor Individuals: Feel like you're in a constant battle with your hair straightener every morning? This treatment dramatically reduces the need for daily heat styling, giving you back so much precious time.
Here's the key thing to remember: modern at-home kits are formulated to be safe and user-friendly. You don't need a hairdressing certificate to get amazing results, as long as you pick a quality, formaldehyde-free product and stick to the instructions.
The Rise of DIY Hair Care in Australia
This DIY approach is really taking off here in Australia. It's no surprise when you see that the local hair care market was valued at a whopping USD 1.3 billion in 2024 and is only expected to grow. This boom shows how much we're all focusing on finding premium, effective solutions for our hair. You can dig into more stats on the Australian hair care industry's growth on the IMARC Group's website.
This growing interest means that high-quality, at-home keratin treatments are more accessible than ever.
At-Home vs Salon Keratin Treatment Quick Comparison
To help you decide what's right for you, here’s a quick look at the key differences between doing a keratin treatment yourself and getting it done by a professional.
| Factor | At-Home Treatment | Salon Treatment |
|---|---|---|
| Cost | Significantly lower (price of the kit) | Higher (service fee + product cost) |
| Convenience | Do it anytime in your own home | Requires booking an appointment |
| Time | 2-4 hours, depending on hair length | 3-5 hours, plus travel time |
| Results | Good to great, lasts 4-6 weeks | Professional, often more potent, lasts 3-6 months |
| Formula Strength | Milder, often formaldehyde-free | Can be stronger, requires professional application |
| Application | DIY, need to follow instructions carefully | Applied by a trained stylist |
Ultimately, choosing an at-home kit is all about what fits your lifestyle and budget. You get the flexibility to use professional-grade formulas on your own schedule, revitalising your hair without the ongoing expense and time commitment of salon visits. For achieving that lasting smoothness and shine on your own terms, it’s a real game changer.
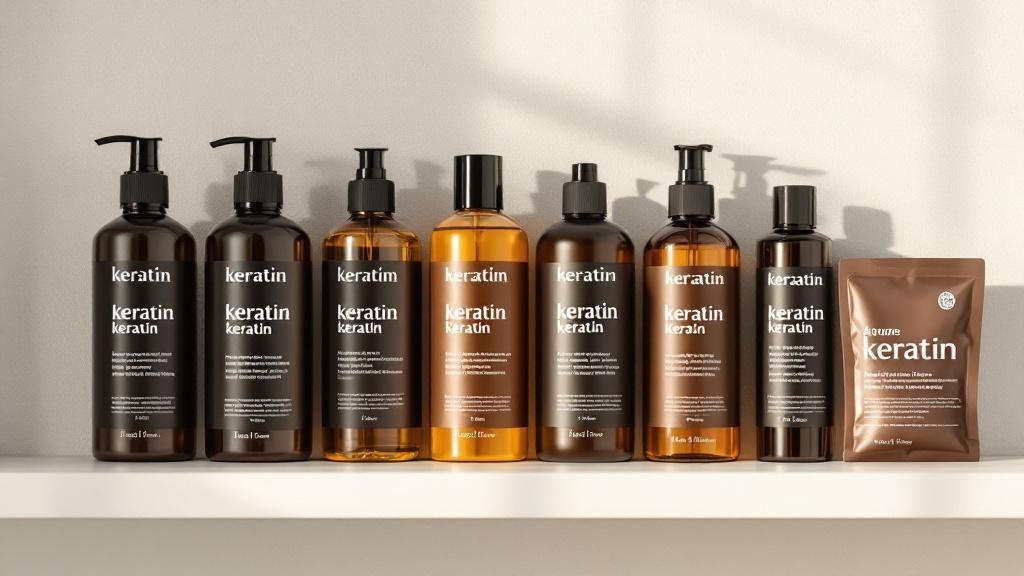
How to Choose the Right At-Home Keratin Product
Standing in the hair care aisle, whether it's in-store or online, can feel a bit overwhelming. You're faced with a wall of boxes, all promising the same sleek, glossy hair. The real trick to picking the perfect keratin treatment at home is to tune out the marketing hype on the front and become a savvy ingredient-list reader.
Your very first checkpoint, and it’s a big one, is the ingredients. You absolutely want to find a formaldehyde-free formula. Older, traditional salon treatments relied on formaldehyde to get that super-straight effect, but it's a seriously harsh chemical you don't want to mess with at home. Thankfully, modern at-home kits have evolved, using much safer alternatives like glyoxylic acid to smooth hair beautifully without the nasty side effects.
Match the Formula to Your Hair Type
Here’s something I’ve learned over the years: not all keratin treatments are the same, because no two heads of hair are the same. A product that gives your friend's thick, coarse hair a new lease on life could leave your fine hair looking flat and limp. It’s all about playing matchmaker between the formula's strength and your hair’s personality.
Let’s break it down simply:
- For Fine or Wavy Hair: Keep an eye out for kits labelled "gentle" or "smoothing." These are brilliant for taming frizz and boosting shine without completely wiping out your hair's natural volume.
- For Thick or Coarse Hair: You’ve got the green light to go for something more "intensive" or "straightening." These formulas pack a bigger punch with more concentrated active ingredients to really smooth out stubborn frizz and relax a tight curl.
- For Colour-Treated or Damaged Hair: Your mission is to find a kit that's explicitly marked as safe for coloured hair. These usually come loaded with extra conditioners and bond-builders to give your delicate strands some much-needed TLC. If your hair is particularly compromised, it's worth understanding the pros and cons of using Olaplex.
My Top Tip: Always, and I mean always, do a strand test before you go all in. This is non-negotiable, especially if your hair is bleached or heavily processed. It’s a tiny bit of effort that lets you preview the final look and, more importantly, check for any weird reactions.
The Move Towards Natural Goodness
We’re seeing a massive shift across the beauty world towards cleaner, more natural ingredients, and keratin products are right there in the mix. Here in Australia and around the globe, people are actively looking for treatments that use natural keratin from sources like wool, or even plant-based versions made from soy or wheat proteins.
Choosing a kit with these kinds of ingredients isn't just an ethical choice; it's often a better one for your hair. These formulas tend to be packed with nourishing amino acids and vitamins. So, by focusing on formaldehyde-free options and carefully matching the product to your hair type, you're setting yourself up for a safe, successful, and stunning at-home keratin experience.
Your Foolproof Application Process for Smooth Hair
Alright, let's get into the fun part—actually applying your keratin treatment at home. Don't think of this as a chore; it's more like a serious pampering session that will pay off with weeks of gorgeous, smooth hair. Trust me, with a bit of prep and patience, you can absolutely get that sleek, salon-fresh finish all by yourself.
First things first, and this is probably the most crucial step for getting the treatment to really work its magic: you need to start with squeaky-clean hair. That means washing it thoroughly with a good clarifying shampoo, maybe even giving it two washes to be safe. The aim here is to strip away any product build-up, natural oils, or silicones that could create a barrier and stop the keratin from penetrating the hair shaft. And whatever you do, skip the conditioner!
Once your hair is properly cleansed, gently towel-dry it to get rid of the dripping-wet stage. Some kits will tell you to blow-dry your hair until it's about 80% dry, while others want it completely dry before you start. Always, always check the instructions on the box of your specific product—they know best.
Setting Up for Success
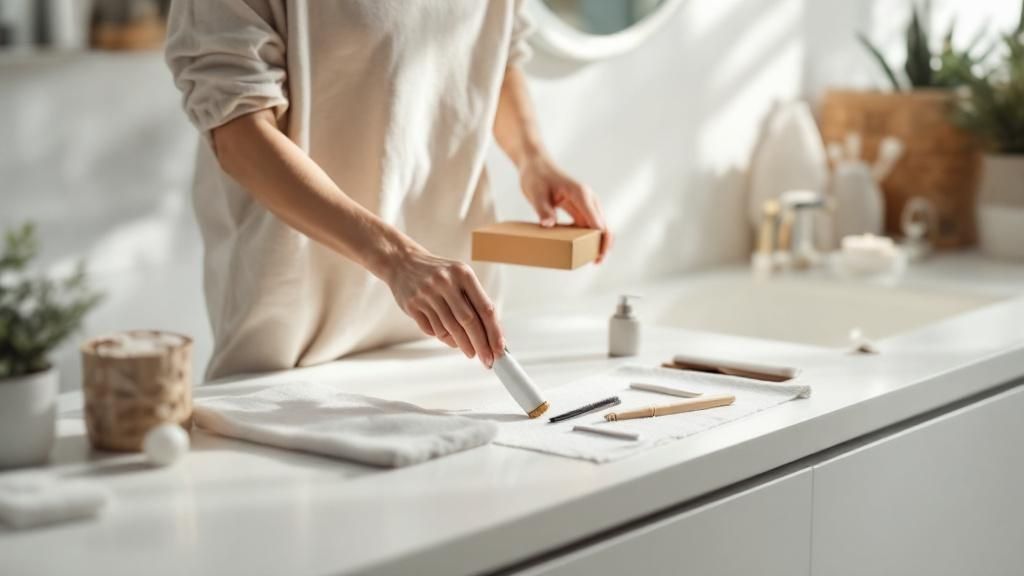
Before you even think about opening that treatment bottle, get your little salon station organised. You'll want to be in a well-ventilated space, so crack open a window or pop a fan on. Lay down an old towel over your shoulders to protect your clothes and skin, and make sure you have these tools ready to go:
- Hair clips to section everything off
- An application brush (most good kits come with one)
- A fine-toothed comb for even spreading
- Gloves to protect your hands
Sectioning your hair is the secret to a flawless, even result. Part your hair down the middle, then divide it into four manageable sections—two at the front, two at the back. Use your clips to keep them neatly pinned up. This simple trick stops you from feeling overwhelmed and ensures every single strand gets the love it deserves.
The Application and Sealing Stages
Now, working one section at a time, use your application brush to paint on the keratin product. Make sure you start about a centimetre away from your roots and sweep the product down towards the ends. It's really important not to slap the product directly onto your scalp, as this can leave you with greasy, weighed-down roots later on.
A classic mistake is globbing on way too much product, thinking more is better. It's not! Oversaturating your hair just makes it feel heavy and can make it a nightmare to style afterwards. You only need enough to lightly and evenly coat each strand.
After applying the product to a small subsection of hair, run your fine-toothed comb through it. This is your best friend for preventing clumps and making sure every single hair is coated. Keep doing this, bit by bit, until all four sections of your hair are done.
Once your hair is fully covered, it's time to let it process. The waiting time can vary quite a bit, anywhere from 15 to 60 minutes, depending on your hair type and the product's directions. As a general rule, finer hair needs less time, while thicker, coarser hair might need that full hour. Set a timer and relax!
Here’s a little visual to show you the main workflow for your at-home treatment.
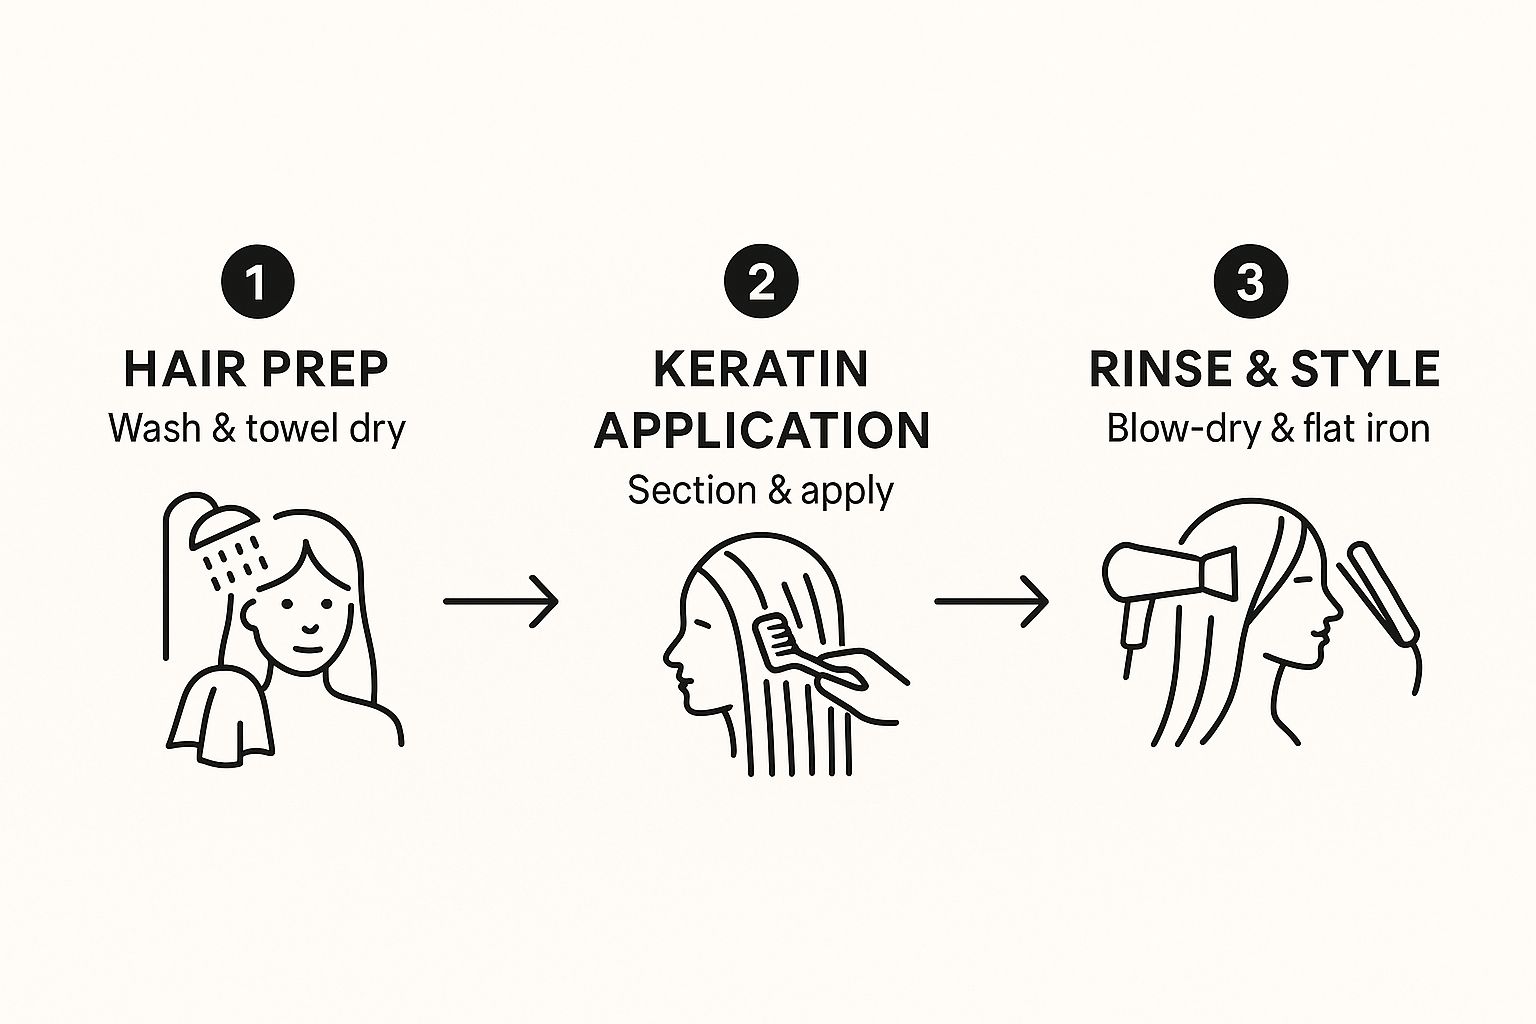
As you can see, a great result comes from nailing these three phases. Each one is just as important as the last.
When your timer goes off, you'll either rinse the product out or head straight to blow-drying—again, check your kit's instructions. If it says to rinse, use lukewarm water and let it run until it's clear. Then, you'll need to blow-dry your hair completely, getting it as smooth as possible. For your non-keratin days when you want a bit of texture without the frizz, you might find it handy to learn about styling with a quality sea salt spray.
Finally, it’s time to seal the deal with heat. Grab your flat iron and set it to the temperature recommended by the manufacturer, which is usually around 220°C. Working in small, thin sections, slowly glide the straightener from your roots to your ends, passing over each section a few times. This intense heat is what locks the keratin into the hair cuticle, creating that signature shine and long-lasting smoothness.
Making Your Smooth Results Last with Smart Aftercare
Congratulations, you’ve done it! You've navigated your keratin treatment at home, and your hair is probably looking unbelievably sleek and glossy. But now comes the part that really counts: protecting your hard work so those smooth results last for weeks, not just a few days.
The first few days after the treatment are absolutely critical. I always tell my clients to think of it like letting nail polish set properly – you have to give the keratin enough time to fully bond with your hair without any disturbances. A little patience right now pays off in a big way later.
The Golden Rule: You absolutely must wait at least 48 to 72 hours before you even think about washing your hair. This waiting period is the non-negotiable secret to letting the treatment properly set and giving you maximum longevity.
During this initial hands-off phase, you also need to avoid anything that could put a lasting kink or dent in your newly straightened hair. That means no hair ties, no clips, no ponytails, and definitely no tucking your hair behind your ears. Just let it hang straight and free.
The First Wash and Beyond
When that 72-hour timer is finally up, your choice of shampoo and conditioner becomes the most important factor in keeping your hair smooth. Using the wrong products can literally strip the keratin coating right off, undoing all your effort in just a couple of washes. It’s heartbreaking when that happens.
You have to switch to a sulfate-free shampoo and conditioner. Sulfates, particularly Sodium Lauryl Sulfate (SLS), are harsh detergents. They give you that big, bubbly lather but are notorious for stripping keratin, moisture, and even your hair colour.
Here’s what your new wash-day routine should look like:
- Sulfate-Free Is Law: Always double-check your product labels. This is the cornerstone of all keratin aftercare.
- Cool It Down: Hot water opens up the hair cuticle, which can allow the precious keratin to escape. Stick to lukewarm water instead.
- Handle with Care: Don't scrub your hair aggressively. A gentle massage at the scalp is all you need; let the suds simply rinse through the lengths.
Finding the right products is everything. Many brands have specific aftercare lines designed to support smoothing treatments. It's worth doing a little research, for instance, learning about options like Trichovedic for keratin aftercare can help you find products that genuinely prolong that sleek, salon-fresh feeling.
Styling and Maintenance Tips
Beyond the wash, a few other smart habits will help you get the most out of your treatment. When you blow-dry, make sure you always point the nozzle downwards. This simple trick helps keep the hair cuticle sealed, smooth, and flat.
Your hair should feel way more manageable now, but if you do reach for heat tools, you’ll likely find you can get away with a much lower temperature setting than before. That’s a fantastic bonus for your hair's overall health.
And my final pro tip? Switch to a silk or satin pillowcase. It sounds a bit extra, but cotton creates friction overnight that can rough up the hair cuticle and bring back the frizz. A silky surface lets your hair glide around, helping you wake up with that same gorgeous, smooth finish.
Sidestepping Common Mistakes for Flawless Results
https://www.youtube.com/embed/hTWWddmDgi4
Even with the best kit in hand, a simple slip-up can be the difference between that glossy, straight-from-the-salon finish and a total hair disaster. I've seen it happen! Learning from the most common mistakes is the secret to making sure your at-home keratin treatment is a raging success, every single time.
Let's talk about the pitfalls I see most often so you can steer clear of them.
Too Much of a Good Thing
It's so tempting to slather on the product, thinking more is more. But when it comes to keratin, piling it on is the fastest way to get greasy, heavy hair that's impossible to blow-dry and straighten properly. You're aiming for saturation, not drowning. A light, even coating on each strand is all you need.
Another classic mistake is rushing the application, which leads to patchy, inconsistent results. Take a deep breath and give yourself the time to do it right. Dividing your hair into at least four clean sections—and then working through those in tiny one- to two-centimetre subsections—is the only way to guarantee every single strand gets the attention it deserves.
The Tricky Business of Heat
This is where the magic happens. The flat-ironing stage seals the keratin into the hair cuticle, but it's also where things can easily go sideways. Using an iron that's not hot enough is a common culprit for treatments that just don't last. If the heat is too low, the keratin simply won't bond correctly.
On the flip side, too much heat can spell disaster, especially for fine, bleached, or already fragile hair. You absolutely have to follow the temperature guide that comes with your kit—most will recommend around 220°C. If your hair is blonde or heavily processed, it's wise to dial it down a bit. For more advice on keeping your blonde locks vibrant, you can read our guide on how to brighten your blonde hair.
A Critical Takeaway: Whatever you do, don't apply the treatment directly to your scalp. Always start about a centimetre away from the roots. Applying it right at the scalp is a surefire way to get greasy-looking roots and can even cause some nasty irritation.
Starting with the Wrong Product
Honestly, one of the biggest mistakes happens before you even open the box: choosing a formula that's a bad match for your hair type. An ultra-strong treatment will weigh down fine hair, leaving it limp and lifeless. In contrast, a gentle formula might not have enough oomph to tame particularly coarse or resistant curls.
This really taps into a wider trend we're seeing in Australian beauty, where people are no longer settling for one-size-fits-all products. As people become more knowledgeable, they're looking for solutions that cater specifically to their hair's unique needs. You can learn more about how these trends are shaping the Australian hair care market from recent research. Taking that extra five minutes to research and select the right formula for your hair is a small step that makes all the difference.
Answering Your At-Home Keratin Treatment Questions
It’s only natural to have a few questions before you get started with your first keratin treatment at home. I get it! Knowing exactly what to expect is the key to feeling confident and getting those amazing, smooth results you're after. Let's walk through some of the most common things people ask.
So, How Long Will It Actually Last?
This is probably the number one question on everyone's mind. Realistically, you can expect your gorgeous, frizz-free hair to last anywhere from three to six weeks.
What makes it last longer for some people? It really boils down to three things:
- The specific keratin product you use.
- Your natural hair texture (finer hair might not hold it as long as coarser hair, for example).
- How well you stick to the aftercare routine. This one is huge!
Is It Safe to Use on Coloured Hair?
Yes, you're in the clear here! Most modern, formaldehyde-free keratin treatments are completely safe for colour-treated hair. In fact, you might even find it gives your colour a boost. The treatment seals down the hair's cuticle, which can help lock in your colour, making it look richer and shinier.
A little pro tip from my experience: try to wait at least two weeks after your last colour appointment before doing your keratin treatment. This gives your colour time to settle and helps prevent any unexpected shifts in the shade.
What Happens When It Wears Off? Is It Awkward?
This is the beauty of it – there's no weird "growing out" stage. The keratin doesn't just suddenly stop working. Instead, the effects will fade away slowly and evenly over several weeks.
You won't get a harsh line where the treatment ends and your natural hair begins. You'll just gradually notice your natural waves, curls, or frizz making a gentle comeback. It’s your hair’s subtle way of telling you it might be time for another treatment.
Of course, how often you wash your hair plays a big part in how long the smoothness lasts. If you're curious about the impact of your washing schedule, it's a good idea to learn more about whether shampooing too much can cause hair loss to find the right balance for your hair and scalp.