
Right, let's get you braiding! If you've spent hours watching tutorials and still feel like your fingers are all thumbs, you've come to the right place. Seriously, learning to braid is all about cracking one simple pattern: right over middle, left over middle.
Forget feeling clumsy. You can absolutely do this.
Your First Braid Starts Here
Welcome to the no-judgement zone for wannabe braiders! We’re going to break down the classic three-strand braid so you can go from "I can't" to "I just did that!". No fancy salon talk, just simple, clear steps to get you started.
Just think – soon you'll be able to whip your hair into a quick, stylish braid for a day at the beach or add a lovely touch for a night out. It’s a skill that's way easier to pick up than you'd imagine, and it’s the foundation for so many other amazing hairstyles available right here at Online Hair Depot.
Setting Yourself Up for Success
Before we even think about weaving, let's chat about prep. A beautiful braid doesn't start with the first crossover; it starts with getting your hair ready. Think of it like painting a wall – you wouldn't just slap paint on without prepping the surface first, right? Same deal here.
This means giving your hair a good brush to get rid of any knots and tangles. You don’t need a huge arsenal of tools, but a few key products from our store will make your life a lot easier. We’ll get to the specifics in a bit, but the main goal is to have hair that’s smooth and willing to cooperate.
A classic rookie error is trying to braid hair that's tangled or super slippery from being freshly washed. I find that second-day hair, or hair with a bit of texturising spray from our styling collection, has that little bit of "grit" that makes it so much easier to grip and control.
Our mission is to make sure your first attempt is a huge success. Once you get the hang of it, that simple "over the middle" rhythm will become second nature, and you'll be braiding without even thinking about it.
Let’s Get Your Braiding Kit Sorted
Want to know the real secret to a stunning, smooth braid? It’s not some mystical hair-whispering skill. It’s all in the prep work. Honestly, having the right gear from Online Hair Depot in front of you before you start makes the whole process a million times less frustrating.
Think of it like this: you wouldn't bake a cake without greasing the tin, right? Same principle. We need to create the perfect canvas for your masterpiece, and that starts with clean, happy hair.
If you want to get the foundation absolutely perfect, starting with a proper wash is non-negotiable. Pop over to our guide on how to use shampoo to make sure you're getting a great clean without stripping your hair’s natural oils. A great braid truly begins on wash day.
Creating a Tangle-Free, Workable Canvas
Okay, hair's clean. Now what? It’s time to make it manageable. Knots are the number one enemy of a beginner braider, so a good detangling spray from our collection is your best mate. A quick spritz helps melt away tangles, meaning you won’t be yanking and snagging your way through the braid. It’s a game-changer.
Next up is moisture. You want your hair to be supple and cooperative, not dry and rebellious. A quality leave-in conditioner from our store will give your strands the perfect amount of 'slip', letting them glide through your fingers as you work. This is the step that turns braiding from a tangled battle into a smooth, satisfying process.
Here's a little trick I swear by: work a small dollop of leave-in conditioner through your hair while it’s still slightly damp. It nips flyaways in the bud from the get-go and gives your finished braid a gorgeous, healthy sheen. Total salon-finish vibes!
We’ve seen how much our customers are investing in products that moisturise and protect their hair. It’s wonderful to see everyone realising that healthy hair is the foundation for any great style.
Before you get started, let’s pull all those essentials together. Here's a quick checklist of the must-have products and tools we recommend grabbing from our store to set you up for success.
Your Must-Have Braiding Prep Kit
| Product/Tool | Why It's Essential for Beginners | Our Top Pick from Our Store |
|---|---|---|
| Detangling Spray | Melts away knots without causing breakage, making hair easy to section. | Shop Our Pro Detangler |
| Leave-In Conditioner | Adds moisture and 'slip' to strands so they glide smoothly through your fingers. | Explore Leave-In Conditioners |
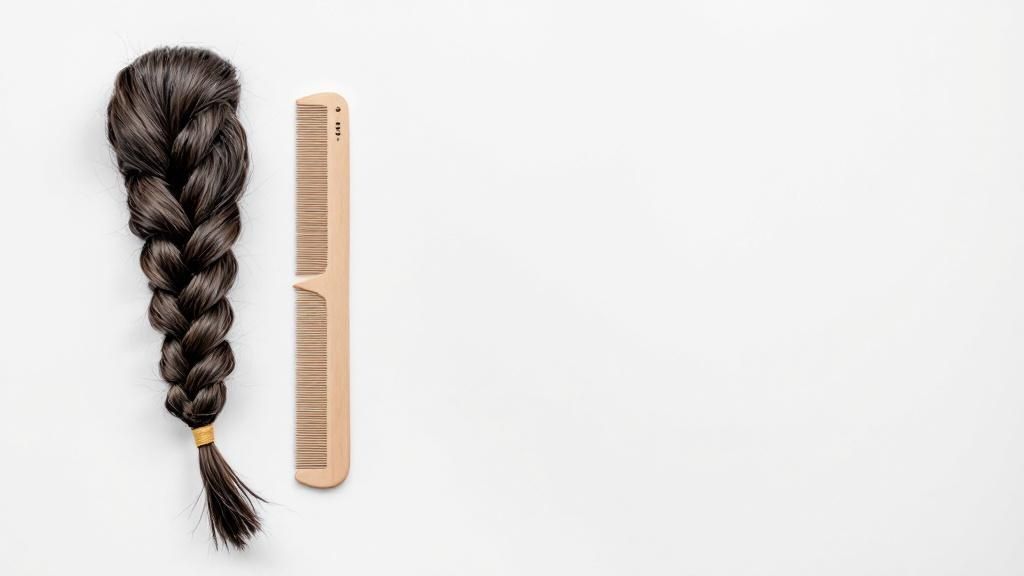
| Wide-Tooth Comb | Perfect for gently working through tangles and creating clean, straight parts. | Find Your Perfect Comb |
| No-Snag Hair Ties | Secures your braid at the end without ripping or damaging your hair. | Browse Hair Accessories |
With this kit on your bathroom counter, you're not just ready to braid—you're ready to create something amazing. Let's get to it
Mastering the Classic Three-Strand Braid
Alright, let's get down to the fun part. We're going to build your very first, beautiful three-strand braid together, one simple step at a time. If you’ve ever felt like you have ten thumbs trying to do this, don't worry. It's all about finding a rhythm.
The entire magic of a basic braid boils down to one simple idea: outside strand over the middle. That’s the secret. Once you get that sequence into your muscle memory, you’ve basically unlocked the world of braiding.
Let's walk through it.
Getting Set Up
First up, you'll need to divide the hair you're working with into three roughly equal pieces. Don't get out a ruler; just eyeball it. The aim is to have three distinct strands to play with.
Now, get a comfortable grip. I find it easiest to pinch the left strand between my left thumb and index finger and the right strand between my right thumb and index finger. The middle one can just hang free for a second while you get situated. The key is finding what feels secure and natural for you.
This is what a great start looks like – the hair is parted into three clean sections at the nape of the neck, ready to go.
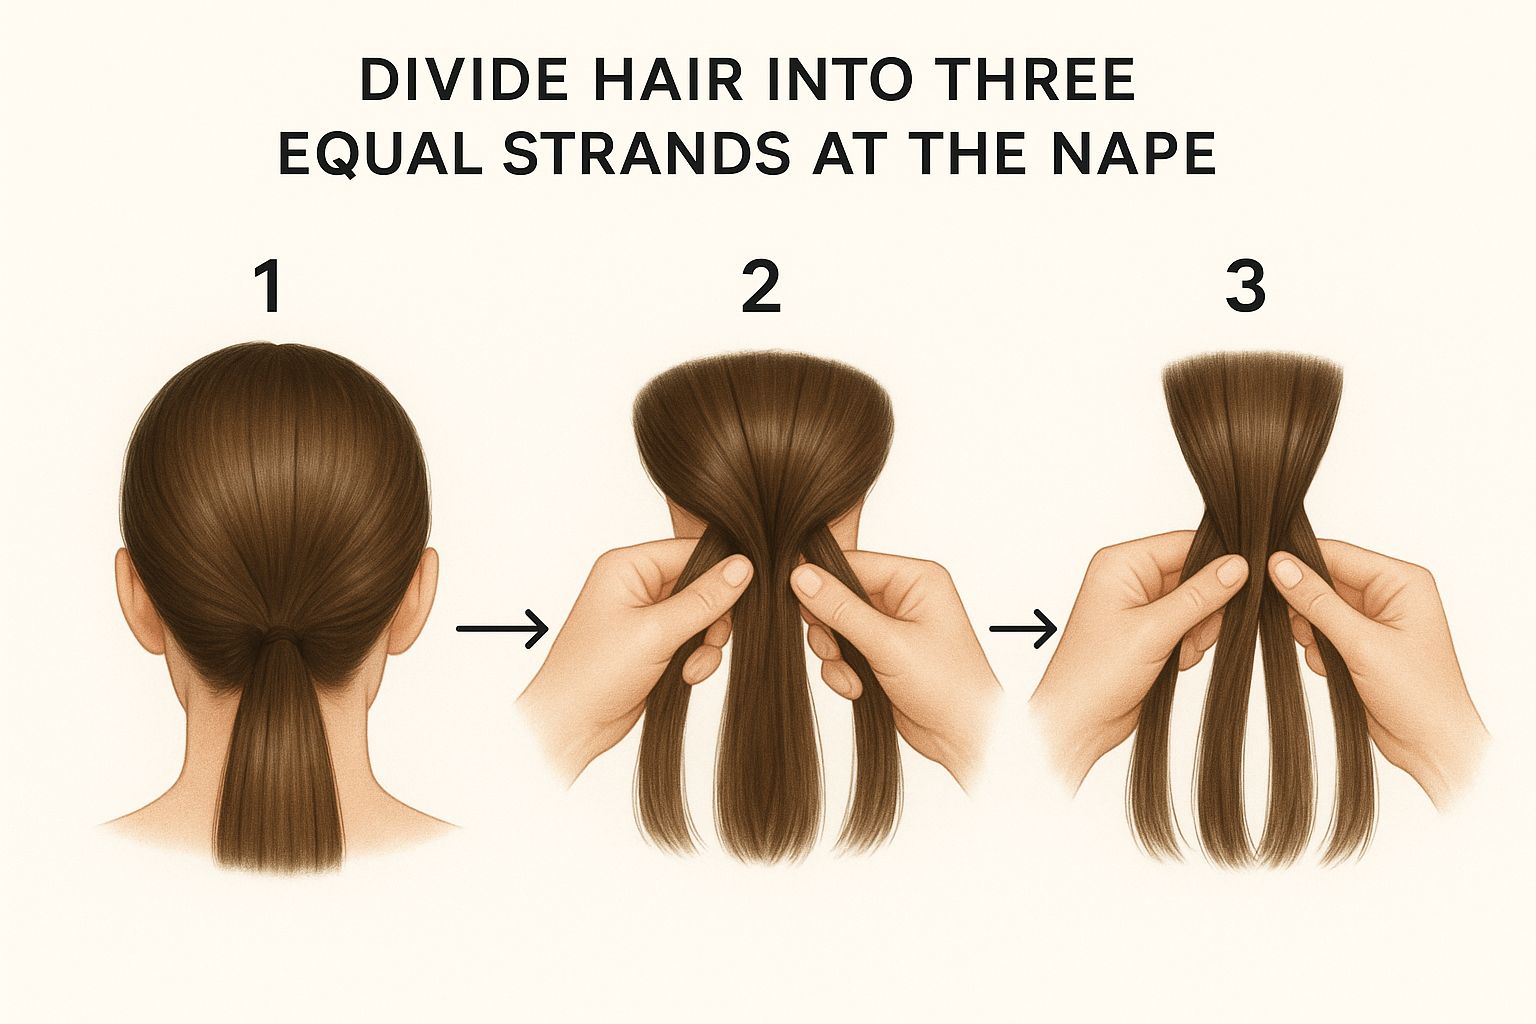
Starting with clean, distinct sections like this is your best bet for avoiding a tangled mess halfway down. A good start makes for a good finish!
Finding Your Braiding Rhythm
Ready? Here we go. The whole process is just a simple two-step dance you'll repeat down the length of the hair.
- First, take the right outside strand and cross it over the middle one. That right strand is now your new middle strand. Easy.
- Next, take the left outside strand and cross it over the new middle strand. See the pattern? Now the left strand is sitting in the centre.
That’s honestly it! You just keep repeating this "right over middle, left over middle" pattern all the way down. With each cross, give a gentle tug to keep the braid looking neat and tidy.
My pro tip: Don't strangle the braid! You want it to be neat, but not so tight that it's pulling or uncomfortable. The goal is just enough tension to define the weave. If the scalp feels strained, you're pulling way too hard. Just relax your hands and focus on the flow.
Try to keep your tension even as you work your way to the ends. This is what creates that beautiful, uniform look we're all after. If one side looks a bit loose, no dramas – just adjust your grip on the next crossover.
Once you’ve nearly reached the end, leave a small tail of hair and tie it off with one of those brilliant no-snag hair ties you can find in our hair accessories collection. Using a quality tie is a non-negotiable for me; you don't want to snap your hair after creating such a masterpiece!
The best way to get good at this is just to do it. Braid your hair while you're watching telly or listening to a podcast. Soon enough, your fingers will be doing the 'right over middle, left over middle' dance without you even thinking about it.
Alright, you've conquered the classic three-strand braid. You've got the rhythm, the muscle memory is kicking in, and you're feeling pretty pleased with yourself. High five!
But now, let's get into the really fun part. These are the little pro secrets that take your braid from a 'practice run' to a 'wow, who did your hair?' masterpiece.
That Effortlessly Full Look? It's All in the 'Pancake'
Ever wonder how people get those soft, romantic braids that look so full and relaxed? The trick is a technique called ‘pancaking’. Once you've tied off your braid with an elastic, go back to the top and gently start tugging on the outermost loops of each section. Don't be shy! You'll see the braid instantly expand and loosen up.
This simple move creates incredible volume and texture, turning a standard plait into something much more intentional and chic. It’s a total game-changer, especially for those with finer hair.
Getting That Salon-Sleek Finish
For a super smooth, polished braid, a good finishing spray is non-negotiable. A light spritz of our flexible hold hairspray is perfect for taming those little halo flyaways without turning your hair into a helmet. It keeps things looking clean and sharp, not stiff or crunchy.
Want that healthy, light-catching glow? A shine spray is your go-to. It adds a gorgeous lustre that just makes your hair look vibrant and well-looked-after. You can check out the perfect finishing touches for your hair in our styling collection.
My number one tip for making a braid last all day? Use a quality, no-snag elastic from our accessories collection. For extra security, especially if you have thick hair or you’re heading to the gym, I always double up a thin elastic. This tiny detail is what stops your hard work from unravelling by lunchtime.
You're Part of a Growing Trend
If you've found yourself wanting to master skills like braiding at home, you're not alone. Our customers are loving the enduring popularity of braided styles and the wave of fantastic, user-friendly tools from our store that make it easier for everyone to learn. It shows a huge trend towards DIY hairstyling, which we love to see.
These are the small but mighty details that elevate your simple braid into a stunning hairstyle you’ll be genuinely excited to show off.
What to Learn After Your First Braid
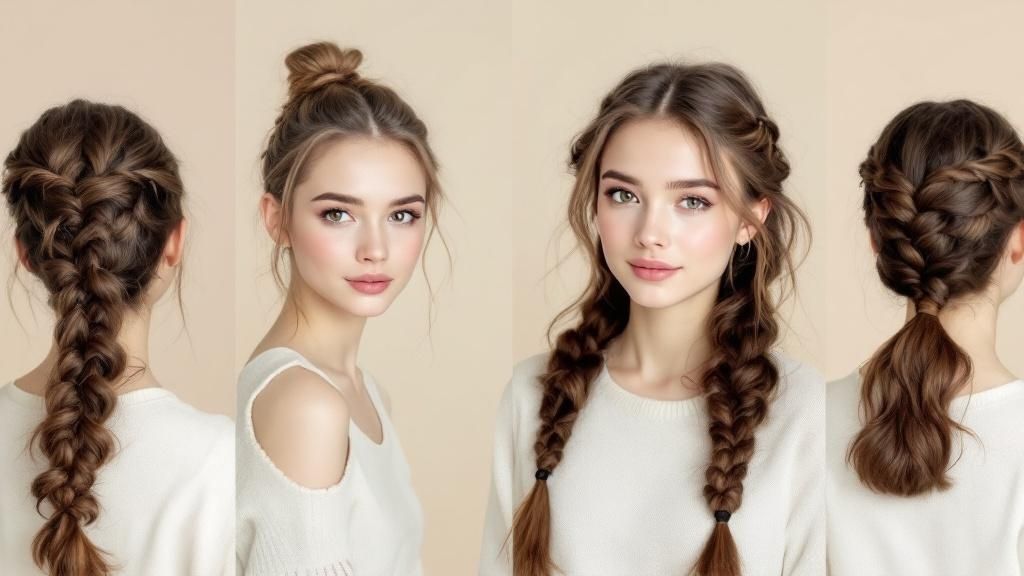
Give yourself a pat on the back—you've officially conquered the classic three-strand braid! Now that you've got the basic rhythm down, a whole new world of stunning styles has just opened up. Let's have a look at what's next on your braiding adventure.
You’ve honestly done the hardest part already. The French braid and Dutch braid might sound a bit fancy, but they only add one tiny, new move to the skill you just mastered. Instead of simply braiding the same three sections, you’ll start grabbing a little bit of loose hair and adding it to a strand each time you cross it over.
The secret is that the core movement is exactly the same! For a French braid, you cross the outside strand over the middle one. For a Dutch braid, you cross it under. That single change is what creates those two totally different, gorgeous looks.
Your Next Braiding Challenge
When you're feeling confident and ready to level up, we've got everything you need. These more detailed styles are much easier to pull off when you have a bit of extra grip and control from the right products from our styling collection.
Your next steps are:
- The French Braid: This is that timeless, elegant style that sits flat against the head. It's my go-to for a polished look that keeps every single hair neatly tucked away.
- The Dutch Braid: You might hear this called a 'reverse braid' or 'boxer braid'. It pops right off the scalp, giving you a bold, 3D effect that really stands out.
Mastering styles like this at home is becoming a huge trend, and we love seeing so many of our customers embrace DIY hair care. It just goes to show you're not the only one getting handy with a hairbrush!
And just a quick tip: if you're braiding on coloured hair, it needs a little extra love to keep that colour looking fresh and vibrant. Don't forget to check out our fantastic post on your guide to colour-treated hair care for all the best advice.
Got Questions? We've Got Answers
Everyone feels a bit clumsy when they first start braiding. It's totally normal! Let's walk through some of the most common hurdles I see beginners face, so you can get past them and start braiding like a pro.
One of the biggest frustrations is trying to braid hair that's too clean. It's so silky and slippery that the strands just won't cooperate! The secret? Always try to work with second-day hair. It has just a bit more natural grit and texture, which gives you the control you need. If you're not sure what the best wash routine for your hair type is, we've got a great guide on how often you should wash your hair.
Help! Why Is My Braid So Lumpy?
Ah, the dreaded lumpy braid. We've all been there. This usually boils down to two things: you're either not grabbing equal amounts of hair for your sections, or your tension is all over the place.
Don't get too caught up in making your sections mathematically perfect. Just eyeball it. The real key is maintaining a consistent, gentle pull on each strand as you cross it over. If you spot a bump starting to form, don't panic! Just pause, give that strand a little tug to smooth it out, and then keep going.
A brilliant little hack is to rub a tiny bit of a light-hold styling gel from our store on your fingertips. It works wonders for taming those pesky flyaways and helps keep everything looking neat as you go.
Here's the best piece of advice I can give you: relax your hands. Seriously. A death grip will only give you a stiff, painful-looking braid and aching fingers. A looser, more relaxed grip is the secret to a soft, beautiful plait.
Why Does My Braid Fall Out So Fast?
You've created a beautiful braid, only for it to unravel an hour later. So frustrating! This almost always comes down to how you secure it. The finish is just as crucial as the braiding itself.
- Choose the right elastic: Ditch the rubber bands. A proper no-snag hair tie is your best friend. Our hair accessories are made to hold your style firmly without causing breakage.
- A little spray goes a long way: Finish with a light mist of flexible-hold hairspray from our styling range. It’ll give your braid staying power without that crunchy, stiff feeling.
Honestly, practice is everything. Your first attempts might look a bit wonky, but don't let that discourage you. With every braid, you’re building muscle memory and getting one step closer to mastering how to braid hair for beginners.
Ready to build your perfect braiding kit? Explore everything you need, from prep to finishing touches, at Online Hair Depot and enjoy free shipping on orders over $50. https://onlinehairdepot.com


