
So, you want to know how to diffuse curly hair to get those bouncy, defined ringlets that look like they just walked out of a salon? Perfect. The real secret isn't just the tool, but the magic that happens when you combine the right technique with products that are actually made for the job. Consider this your definitive guide to transforming a dreaded drying session into an art form that brings out the best in your natural texture.
Why Diffusing Is a Curl's Best Friend
Let's be honest. For too long, the curly-haired among us were stuck with bad options. We could air-dry, which takes an eternity and often leaves you with sad, flat roots. Or we could face the wrath of a standard hairdryer, which is basically a one-way ticket to a frizzy, undefined mess.
Thankfully, diffusing completely changed the game. It’s all about gently spreading the airflow to dry your curls in their natural shape, giving you incredible volume without blowing apart the beautiful patterns you've just spent time creating.
This guide is going to take you through everything, from the non-negotiable prep work to the finishing touches that will lock in your style for days. We're not just aiming for dry hair. We're aiming for perfectly sculpted, soft-to-the-touch, and outrageously voluminous curls.
The Power of Controlled Drying
The genius of a diffuser is all in how it handles heat and air. Instead of a harsh, concentrated blast that sends your delicate curls into chaos, a diffuser gently cradles them in a wide, soft pocket of air. This gentle touch is your key to unlocking some serious benefits.
- Frizz Becomes a Thing of the Past: Because you're not violently disrupting your curl clumps, the hair cuticle stays smooth. A smooth cuticle means no frizz. It's that simple.
- Next-Level Volume: Techniques like "pixie diffusing" let you get the diffuser right up to your scalp, lifting the roots and building body that air-drying could only dream of.
- Serious Definition: Diffusing helps to "set" the curl clumps you've already formed with your styling products. This means better definition, less stringiness, and curls that hold their shape.
It’s no surprise this method has become a go-to. Recent Australian consumer studies revealed that 35% of women with curly hair use a diffuser as part of their regular routine. Even more telling? A massive 82% of those women said they saw a huge drop in frizz and that their curls lasted longer compared to when they just air-dried. You can find out more about Australian curly hair trends and see why so many are ditching their old methods.
Key Takeaway: Think of diffusing as a styling technique, not just a drying method. When you combine the right heat with our specifically designed curl creams and mousses from amazing brands like L’Oréal Professionnel and Pureology, you're not just getting rid of water. You're building the scaffolding for a flawless style that lasts.
It's the ultimate team-up. Our products give your hair the moisture and hold it craves, creating a protective "cast" around each curl. The diffuser then gently hardens that cast, locking in the definition and shine. We're about to show you exactly how to get this dream team working for you, delivering salon-worthy results every single time. Get ready to fall back in love with your hair.
Before we dive into the step-by-step, let's quickly break down how diffusing stacks up against other common drying methods. This will really put into perspective why it's the champion for most curly hair types.
Diffusing vs Other Drying Methods
A quick look at common drying methods for curly hair, showing why diffusing with the right products is the winning strategy for definition and volume.
| Drying Method | Key Outcome | Best For | Potential Downside |
|---|---|---|---|
| Diffusing | Maximum Volume & Definition | All curl types, especially fine or wavy hair needing a lift. | Requires a specific tool and takes some practice to master the technique. |
| Air-Drying | Natural, Low-Effort Definition | Healthy, well-hydrated curls that don't need much help with volume. | Can take hours; often results in flat roots and can lead to frizz in humidity. |
| Plopping | Enhanced Curl Clumps | Wavy and curly types looking to encourage tighter patterns. | Isn't a complete drying method; you still need to air-dry or diffuse afterwards. |
| Standard Blow-Drying | Quick Drying, Straight Style | Intentionally creating a straight blowout. | The absolute enemy of natural curls; causes massive frizz and potential heat damage. |
As you can see, for anyone chasing that perfect balance of volume, definition, and frizz control, diffusing is in a league of its own. Now, let's get into the nitty-gritty of making it happen.
The Perfect Prep for Your Curls
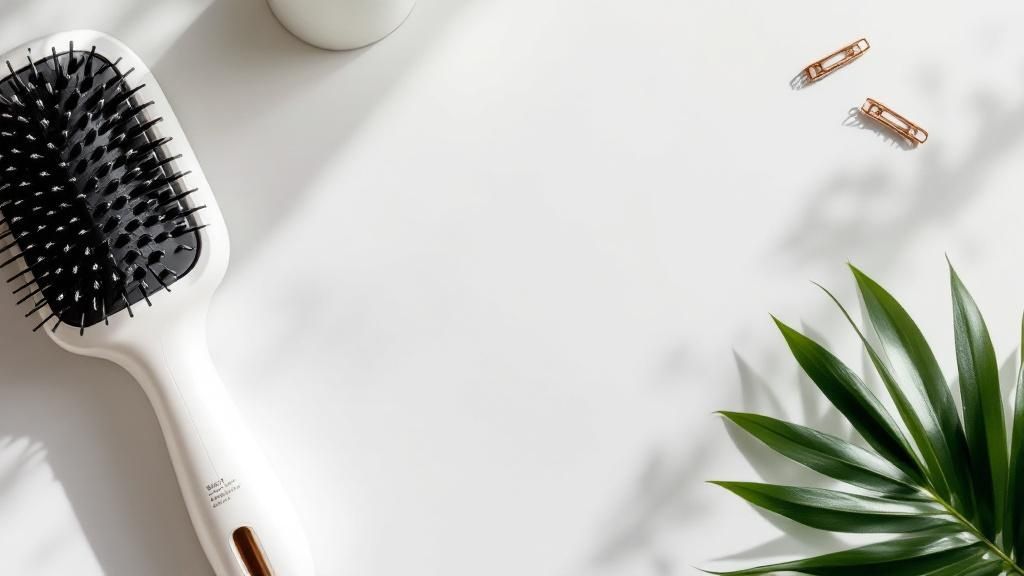
Let's be honest, gorgeous, bouncy diffused curls don't just happen. If you want that salon-fresh look, the magic actually begins long before you even plug in your hairdryer. It’s all in the prep work—creating the perfect canvas for defined, frizz-free curls.
First things first, your hair needs to be soaking wet. And I don’t mean towel-dried or just a bit damp. I’m talking fresh-out-of-the-shower, dripping wet. Why? Water is what helps your curls clump together into those lovely, defined ringlets. Applying your stylers now locks in all that glorious moisture and gets those curl families formed before frizz even thinks about crashing the party.
Choosing Your Curl Champion
Alright, with your hair soaking, it's time to pick your styling hero. You're looking for a product that gives you the perfect cocktail of moisture and hold, which are the absolute cornerstones of a great diffusing session. Don’t worry, we have something in our collection that’s just right for your hair type.
If you’ve got fine or wavy hair that gets weighed down just by looking at it, you’ll want to reach for something light. A quality volumising mousse or a light-hold gel from our product range will be your best mate. They give your curls the oomph they need to pop without killing that precious volume at the roots.
Now, for my friends with thick, coarse, or super thirsty curls, you need to bring out the big guns. A rich curl cream or a strong-hold leave-in conditioner from our range will give your hair the serious hydration and control it's crying out for. These power-packed formulas are made to moisturise deeply and create a protective "cast" around your curls for the drying journey ahead.
Expert Tip: Don't be shy about cocktailing your products! A classic pro move is to layer a moisturising leave-in conditioner first, then follow it up with a gel or mousse for hold. You get the best of both worlds—happy, hydrated curls with killer definition.
The Art of Application
Here’s a secret not everyone knows: how you apply your products is just as crucial as what you use. Raking product through your hair can be a one-way ticket to frizz-ville, breaking up all those beautiful curl clumps you just worked to create.
Instead, let’s get that product in there gently. To really nail why this is so important, have a look at our ultimate guide to understanding frizzy hair. It's a real eye-opener.
Try one of these two gentle techniques for an even coating without the frizz:
- Praying Hands: Rub your chosen product between your palms. Take a section of hair and glide your hands down from root to tip, with your hair sandwiched between them like you're praying. This smoothly glazes the product over your curls without messing up their natural pattern.
- Scrunching: Once the product is on, it's time to give those curls some encouragement. Flip your head upside down, cup a section of hair in your palm, and gently scrunch it up towards your scalp. Listen for a "squishing" sound—that’s the sweet sound of perfectly hydrated hair and product doing its thing!
Think of this prep stage as your roadmap to diffusing curly hair like a pro. Start wet, use the right products for your hair, and apply them with a gentle hand. You're setting the stage for a seriously stunning, defined, and voluminous finish.
Getting Your Diffuser Settings and Technique Just Right
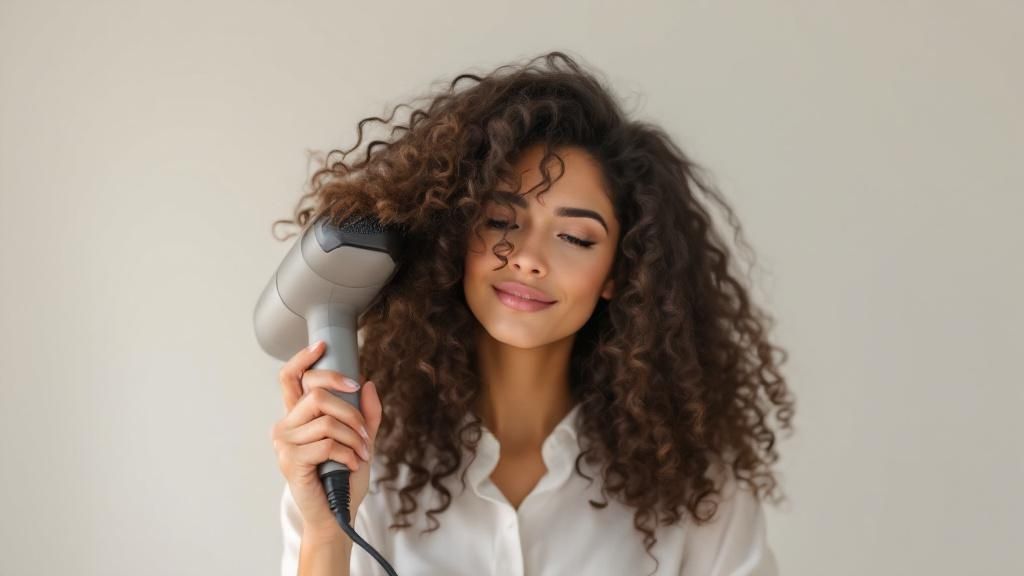
Alright, let's get down to the fun part. Your hair is perfectly prepped and soaking up all the goodness from our curl creams and gels. Now it's time to bring out the big guns: the diffuser. Think of yourself as the captain of your curl ship. Get the settings right, and you'll sail smoothly to frizz-free, voluminous shores.
The absolute golden rule of diffusing? Low heat and low speed. It’s that simple. You're trying to gently coax your curls into their best-ever shape, not blast them into oblivion. High heat is public enemy number one for delicate curls; it's a fast track to damage and that halo of frizz we all spend our lives trying to avoid.
And that high-speed button? It's basically a mini-cyclone for your head. Cranking it up will just blow apart the beautiful curl clumps you worked so hard to create, leaving you with a stringy, separated mess. Trust me on this one: low and slow always wins the race.
Your No-Fuss Settings Guide
I know, all those buttons can look a bit intimidating, but for diffusing, you really only need to master two. This isn't just friendly advice, either. A recent Australian haircare industry report found that a whopping 72% of stylists recommend using low or medium heat to prevent damage.
That same report also mentioned that 65% of Aussie stylists practically beg their clients to use styling products like ours before diffusing. Why? Because it doesn't just boost curl elasticity—it can slash your drying time by up to 30%. You can dive deeper into these pro insights over at Curly Life Australia.
Here's the only cheat sheet you'll ever need:
- Heat Setting: Always, always start on low. If your hair is extra thick or you're really in a rush, you can push it to medium. But never, ever go full-blast high.
- Speed Setting: Stick to low. Seriously. There’s almost no scenario where high speed is a good idea for diffusing curls. It just creates frizz and messes up your curl pattern.
For a little extra oomph, think about pairing our styling products with an ionic diffuser. These clever gadgets emit negative ions that help break down water molecules faster. That means less time under the heat and a smoother, shinier finish. It’s a game-changer.
Let’s Talk Diffusing Techniques
Once you've got your settings locked and loaded, it’s time to get physical. How you actually handle the diffuser can completely change your final look. Let's walk through the two most popular techniques that will have you diffusing like a total pro.
Key Takeaway: You're not just drying your hair here. You're strategically setting the style you created with our products. Each technique plays a specific role in getting that flawless, just-left-the-salon finish.
Hover Diffusing for Flawless Definition
This is where you'll always begin. Hover diffusing is all about setting that product "cast" without actually touching your hair.
First, hold the diffuser several centimetres away from your head. Gently move it all around—sides, back, even flip your head upside down—to start drying the outer layer.
The most critical part? Keep your hands off! Let that cast from our products harden up. This is what locks your curl shape in place and builds your first line of defence against frizz.
Pixie Diffusing for That "Wow" Volume
Once your hair is about 50-80% dry and that cast feels firm, it's time to build some serious volume.
Gently scoop up a section of your ends into the diffuser bowl. Now, bring the diffuser right up to your scalp and just hold it there for 20-30 seconds. This is what creates that incredible root lift and encourages those bouncy spirals to form.
Just work your way around your head, section by section. Be gentle and let the diffuser do all the heavy lifting.
By mastering this one-two punch, you're not just drying your hair—you're sculpting it. You start with hovering to set the foundation with our stylers, then you switch to pixie diffusing to build the volume and structure. It’s the secret sauce for defined, bouncy, and unbelievably voluminous curls every single time.
How to Diffuse for That Big, Bouncy, Dreamy Volume
Alright, let's get down to the business of volume. Your curls are coated in all that good stuff we just talked about, and now it’s time for the fun part. This is where we bring it all home and learn exactly how to diffuse curly hair to get that massive, yet somehow weightless, body you see all over Instagram.
First things first: we hover dry. This is my non-negotiable first step for a reason. Before the diffuser even thinks about touching your hair, you're going to hold it a few centimetres away from your head and just... hover. Move it all around, letting that warm air circulate and begin to set the gel cast. Your hair should be about 50% dry before you move on. And for the love of curls, keep your hands off! No touching. Not yet.
Think of this as building the foundations. You’re giving our curl creams and gels a chance to work their magic, locking in that gorgeous curl pattern before we go in and start building up the volume. Patience here pays off in a frizz-free finish later.
The Secret Weapon: The Flip and Diffuse
Once your hair feels a bit stiff to the touch (that's the cast forming!), it's time to bring out the big guns. I call it the 'flip and diffuse' method. It’s a salon trick that I swear by for creating incredible lift right from the scalp, and it's how you get volume that doesn't feel weighed down. It’s become a cornerstone of modern curly hair care, especially as we're all looking for styles that are both healthy and stunning. If you're curious about what's next in the curl world, you can discover more about trending curly hairstyles on Salon by Vogue Nationale.
The technique itself is beautifully simple.
- Flip to One Side: Tip your head and flip all your hair over to one side. Now you can start gently cupping sections of your hair into the diffuser bowl. Bring it right up to your scalp and hold it there for about 30 seconds. You're literally teaching your roots to stand up.
- Flip to the Other Side: After a couple of minutes, do the exact same thing on the other side. This is all about creating even lift and avoiding that dreaded flat spot.
- Flip it Upside Down: For the final, dramatic boost of volume, flip your head completely upside down. Keep pixie diffusing, focusing on getting right into the roots and the nape of your neck. This is the key to that all-over, gravity-defying body.
This whole process—from product to the final set—is a simple formula for success.
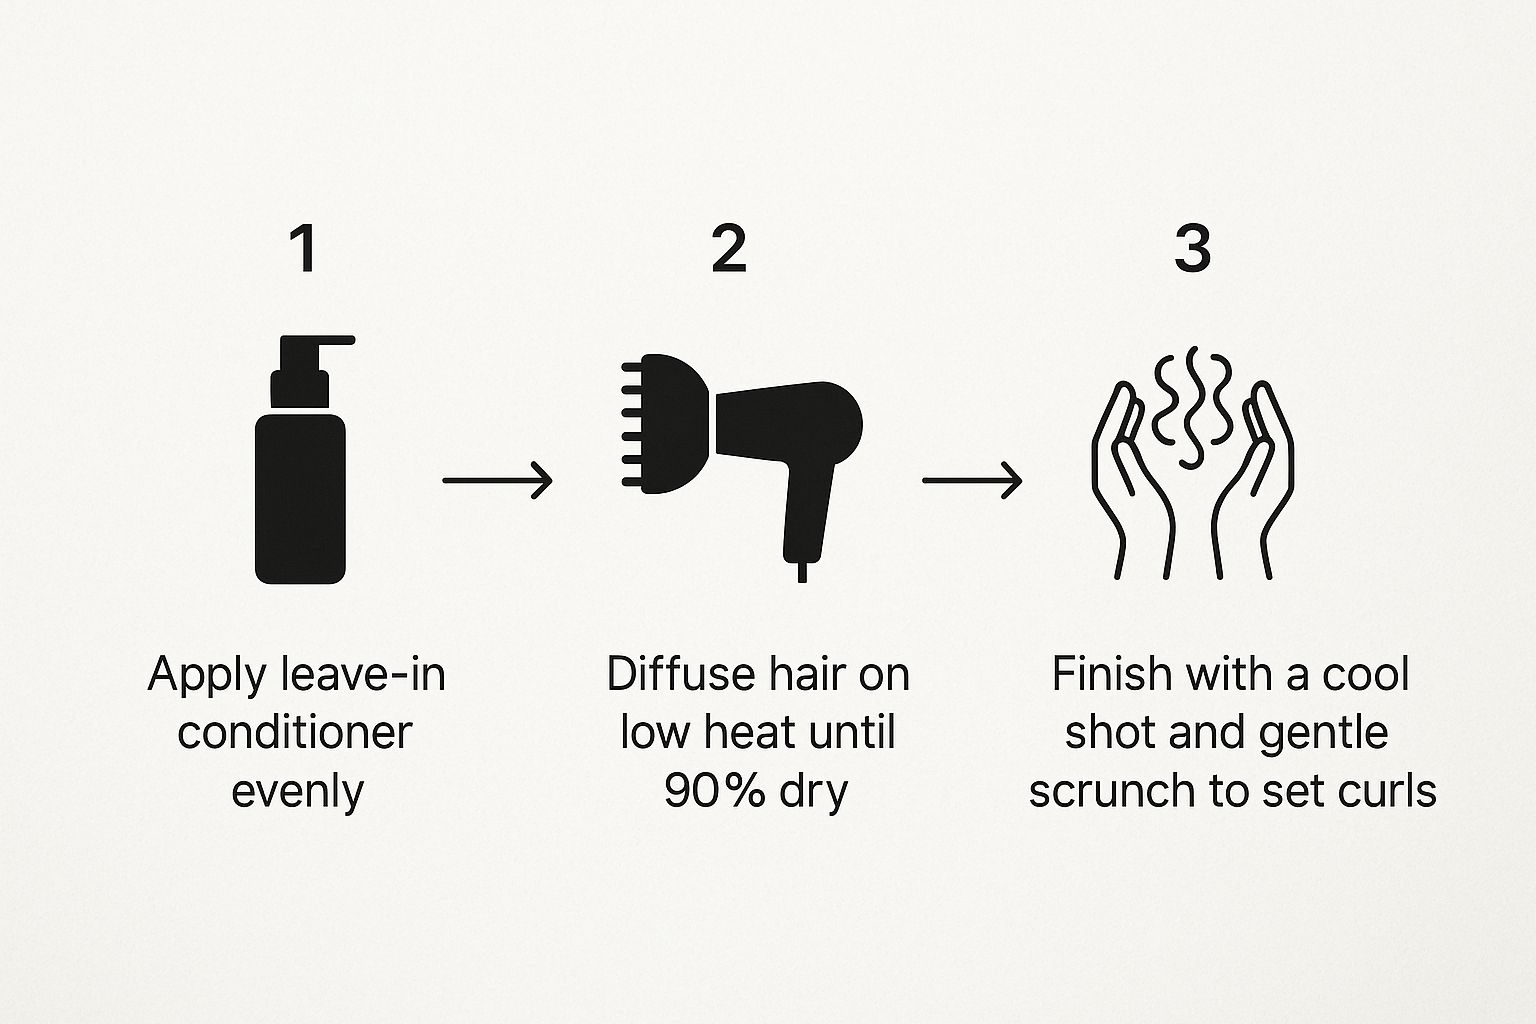
The real magic is in the sequence. The product builds the shape, the heat sets it, and a final blast of cool air locks it all down.
A Quick Note on Timing: Seriously, don't rush this. Give each section a solid 30-60 seconds of attention before you even think about moving on. If you hurry, you’ll end up with random damp patches that will absolutely turn into frizz later in the day. Trust me on this.
By constantly flipping your hair and working in sections, you stop the roots from drying flat against your scalp. You’re encouraging them to dry up and away, which is the secret behind those truly spectacular, full-bodied curls. This is how you diffuse your hair like you've been doing it your whole life, using a few pro secrets right in your own bathroom.
Alright, you’ve done the heavy lifting. Your arms are probably feeling it, but your curls are almost dry and looking phenomenal. You're on the home stretch! These final steps are what take your diffused curls from just "good" to head-turning and long-lasting. It’s all about what you do the moment that diffuser switches off.
Your first instinct might be to run your fingers through your hair. Resist! First, do a quick check: is your hair 100% dry? If you find even a single cool or damp patch, hit it with another quick blast from the diffuser. I’ve seen it time and time again—this is the number one culprit behind curls that droop or frizz up an hour later.
That All-Important Cool Shot
Before you reach for any finishing products, there's one last, non-negotiable step with your hairdryer. Find that cool shot button and press it. A blast of cool air works wonders, snapping the hair's cuticle shut. A closed cuticle is your best friend—it means less frizz, more shine, and it locks your style in place. Seriously.
Give your whole head a good blast of cool air for about a minute. Pay extra attention to the roots, where you've worked so hard to build up all that glorious volume.
Think of the cool shot as the top coat on a fresh manicure. It seals the deal, adds a brilliant shine, and makes all your effort last so much longer. It's a tiny step that delivers huge, salon-quality results.
Time to Scrunch Out the Crunch (SOTC)
Now for what is, in my opinion, the most satisfying part of the entire routine: Scrunching Out the Crunch. Or SOTC, as we call it in the curl world. That firm, almost crispy "cast" your gel or mousse created? That was its job! It formed a protective shield around your curl clumps while they dried. Now, it's time to gently break it open and reveal the soft, bouncy curls hiding underneath.
Using your hands, gently scrunch your hair upwards toward your scalp, using the exact same motion you did when applying your stylers. You'll actually feel and hear that cast breaking. It’s a great sound.
For some extra softness and to combat any last-minute frizz, rub a few drops of a lightweight hair oil or shine spray from our collection between your palms first. This not only adds a beautiful gloss but also tames any stubborn flyaways. If you're rocking coloured hair, using the right finishing products is crucial for keeping that colour vibrant. We dive deeper into this in your guide to colour-treated hair care.
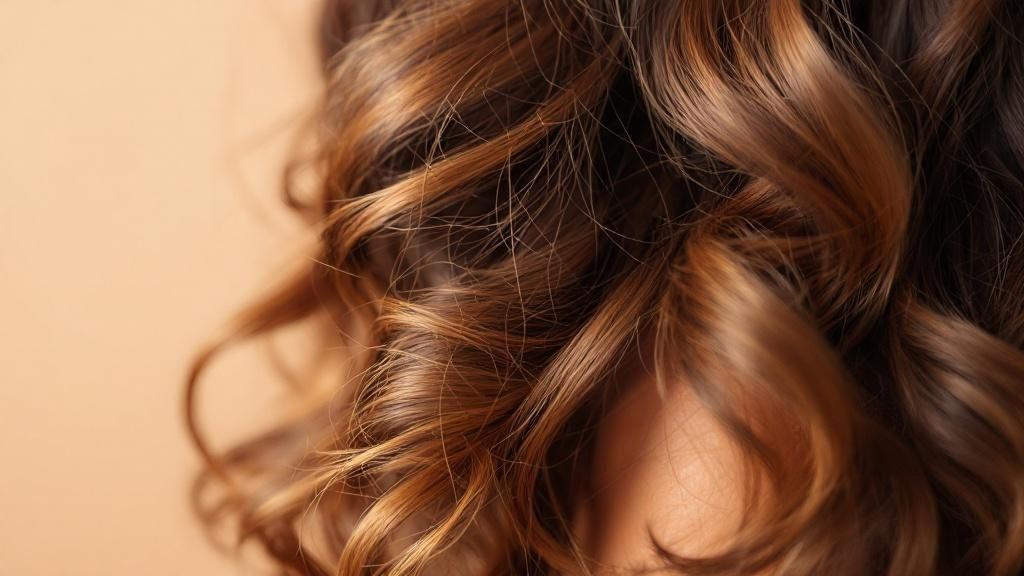
And there you have it! With these final touches, you've officially nailed how to diffuse your curls for a look that's defined, voluminous, and perfectly finished.
Got Questions About Diffusing? We've Got Answers
Even after you've got the steps down, diving into the world of diffusing can feel like it opens up a whole new can of worms. Don't worry, we get it! We've heard all the questions over the years, so let's tackle some of the most common ones to help you get jaw-dropping results with your favourite professional products from our site.
How Long Is This Going To Take?
This is the million-dollar question, isn't it? As a general rule, you’ll want to block out anywhere from 15 to 30 minutes for a solid diffusing session. Of course, this all comes down to your hair's unique personality—its length, how thick it is, and even how porous it is will all play a part.
A little trick I've learned is that using a top-notch curl cream or mousse from our collection really helps. They create a fantastic cast around your curls, which helps moisture evaporate faster and can shave precious minutes off your drying time.
Can I Diffuse My Hair Every Day?
Look, while diffusing is worlds gentler than a standard blow-dryer blasting away at your curls, I wouldn't recommend making it a daily ritual. Curls are happiest when they're left alone as much as possible, and any kind of daily heat, no matter how low, can eventually lead to dryness.
The golden rule is always low heat, low speed. To give your hair a fighting chance, make sure your leave-in conditioner or styling cream from our selection has some heat protection built in. It’s a non-negotiable layer of defence for the days you do decide to diffuse.
My Go-To Tip: Make your wash day last! A silk pillowcase is your best friend for preventing frizz overnight. On day two or three, you can often bring your curls bouncing back with just a light mist of water and a tiny bit of styling mousse, no diffuser needed.
Why Do I Still Have Frizz After All This Work?
Ah, the dreaded frizz halo after you've put in all that effort. It’s the worst! In my experience, this almost always boils down to one of three culprits: your heat is too high, your fan speed is too fast, or you’re touching your hair before it’s fully dry. All three are guaranteed to mess up your curl pattern and invite frizz to the party.
Make sure you're starting with a great foundation of our moisturising products to get that strong curl cast. Then, and this is the hard part, be patient! You need to wait until your hair is 100% dry before you even think about scrunching out that crunch.
Sometimes, sneaky product build-up can also be the cause. If you're finding your hair feels heavy or limp, our guide on how to avoid greasy hair has some great insights that might just be the ticket.


